

Compare a real skin-texture edit, match a motion prompt to its starting pose, and export a four-second fictional street portrait.
Keep three separate deliverables: a judged café-portrait comparison, a four-second street clip, and your inspection checklist. The café pair is one fictional character; the street still and clip are another. The café image was not the video input.
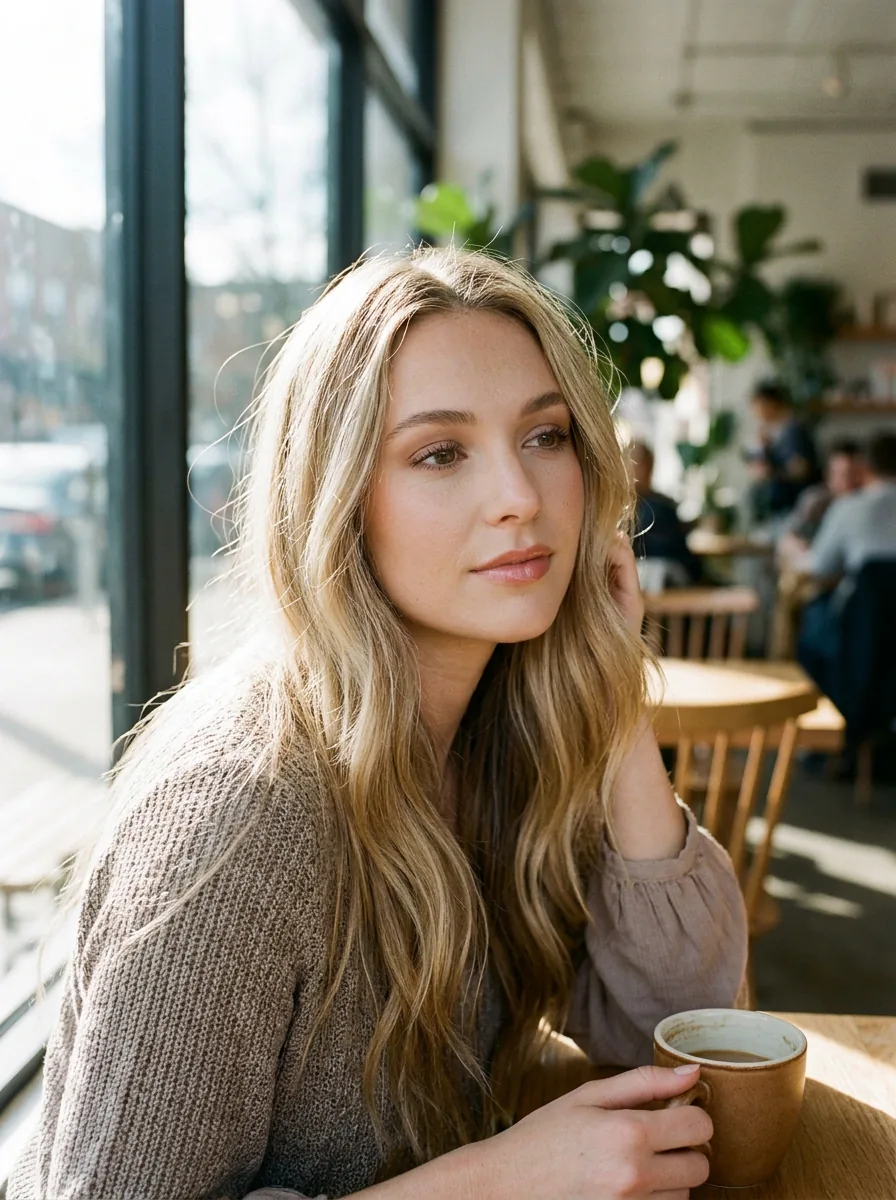
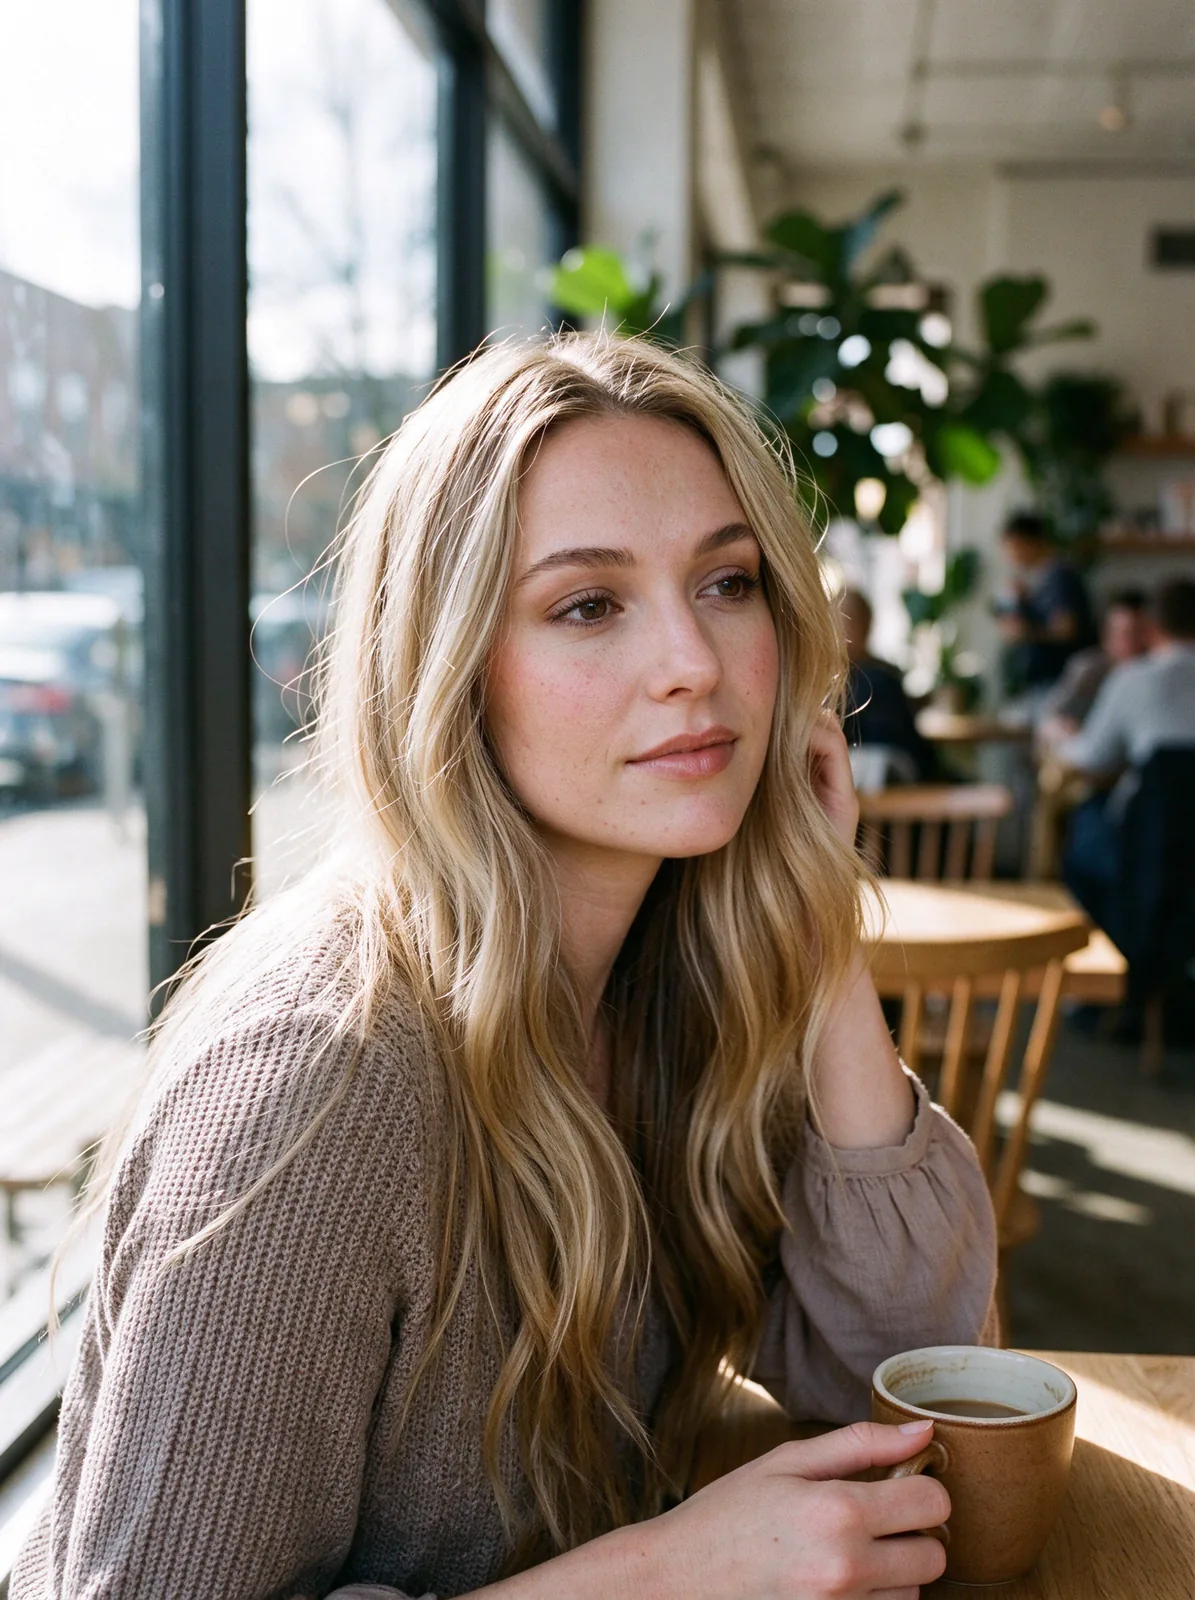
The café input was made with Nano Banana 2.1 and its saved Strong edit with Seedream 5.0 Flash. The street image's underlying model was not recorded. Use the supplied still for the Seedance 2.5 motion exercise. Website controls and local editor operations were recorded on November 7, 2026. These are existing production examples, separate from the website preparation in this lesson.
Exercise files
- Café before and Café after
- Street portrait, the supplied starting image
- Street motion, the saved production take
- English recipe: prompts, settings and export instructions
- Inspection checklist
Step 1: Open the saved café comparison
Open AI Realism Enhancer. Under Examples, use Cafe portrait · Strong, then choose Try this one. The saved pair opens without buying a new image. Drag Before / After and select 2× Zoom. Click the picture to choose the region to inspect.
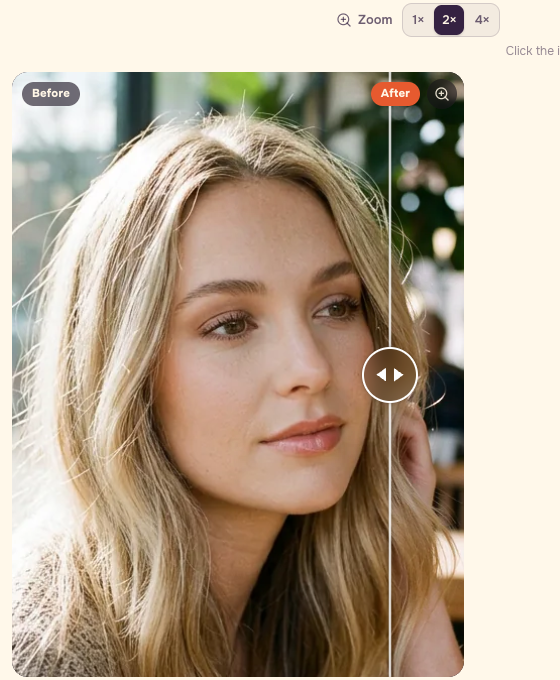
Compare forehead, the skin beside the nose and cheek marks at the same displayed scale. Return to the full face before deciding. One enlarged pore does not establish whether the portrait works.
Step 2: Start with Natural for your own image
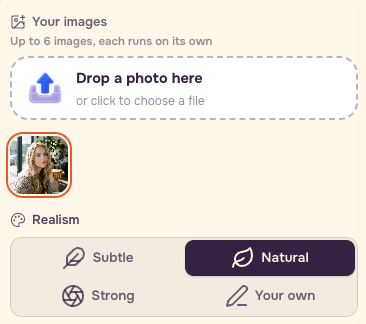
Under Your image, add an image you own or may use. Start with Natural. Strong is the setting of the saved café example and asks for a rougher camera-file finish. It is a different choice from the Natural practice setup.
Step 3: Set texture and file type, then inspect identity
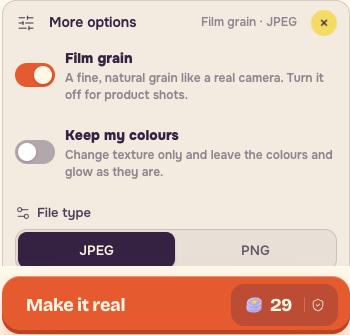
Open More options. Film grain asks for fine grain; Keep my colours asks to preserve colors. Select JPEG or PNG under File type, then read Make it real before deciding to run your own edit.
Inspect eyes, ears, hairline and collar. Face shape and eye color matter before extra texture. Reject an attractive edit if it has changed the character you need. Color preservation is a request, so compare the actual output with the original.
The recipe includes the current English Strong instruction from the tool. The saved example's level is Strong; the exact full original generation request was not independently recovered from an old provider job.
Current English Strong recipe:
Step 4: Give the separate street portrait ordinary light
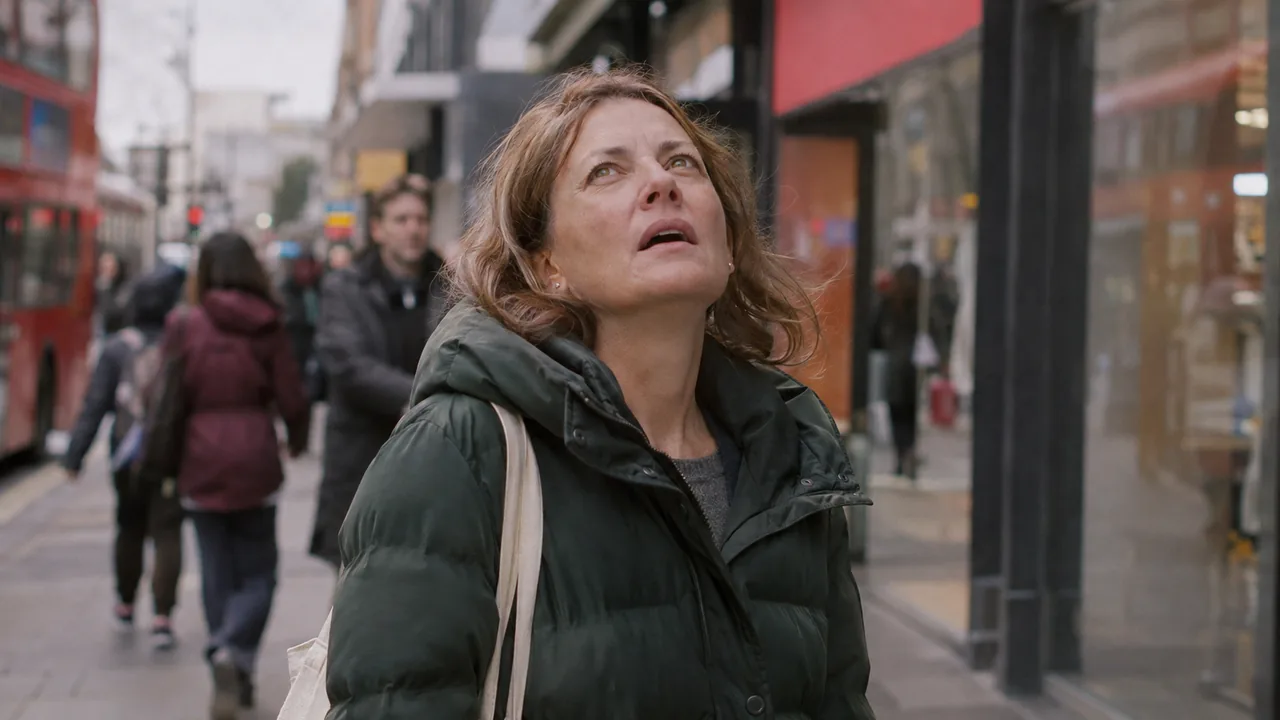
Download Street portrait from the exercise files. Look for ordinary overcast light, natural fine lines, the dark-green padded jacket and canvas bag. Check the cheek-to-neck transition, ear, hairline and collar at normal viewing size.
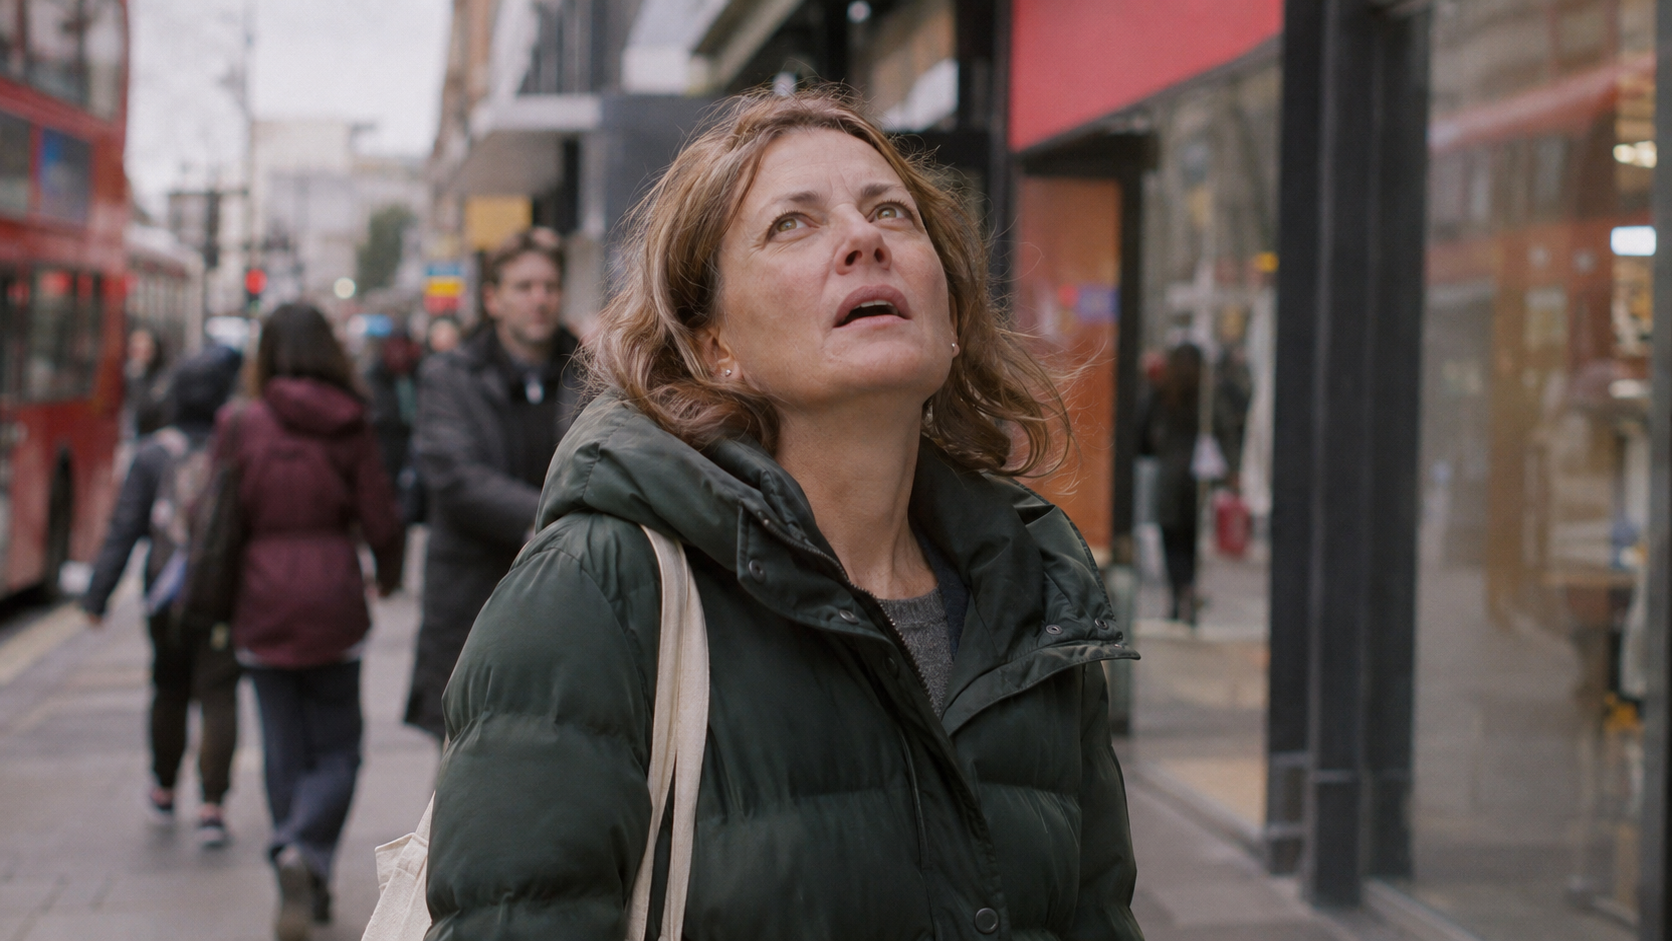
Translated from our original portrait prompt:
The source image model was not recorded. Treat this prompt as the production brief and use the supplied portrait as your motion input. The recording uses the actual still in place of an online lesson download screen because the lesson route was not yet public.
Step 5: Set one small motion
Open Image to Video and choose Seedance 2.5. Select From a photo, add Street portrait, and leave End on this photo empty.

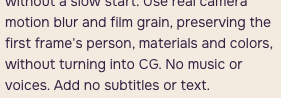
Translated from our original motion prompt:
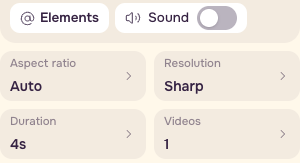
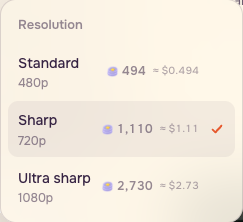
Set 4 seconds, Sharp / 720p, one video, Auto aspect ratio, and Sound off. Read the current quote after setting the controls.
Step 6: Match the instruction to the starting pose
The historical prompt says the subject keeps her mouth closed, while the supplied still already has an open mouth. Keep the historical translation for reference. For a new variation, remove that closed-mouth instruction and keep the action small. This practice revision has not been tested as a new output in this session.
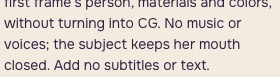
New practice revision:
Step 7: Inspect the whole moving scene
Watch all four seconds of Street motion at 1×, then scrub from the beginning to the last frame. Her eyes widen, pedestrians pass behind her, and paper falls later. Follow the face, background people and paper together.
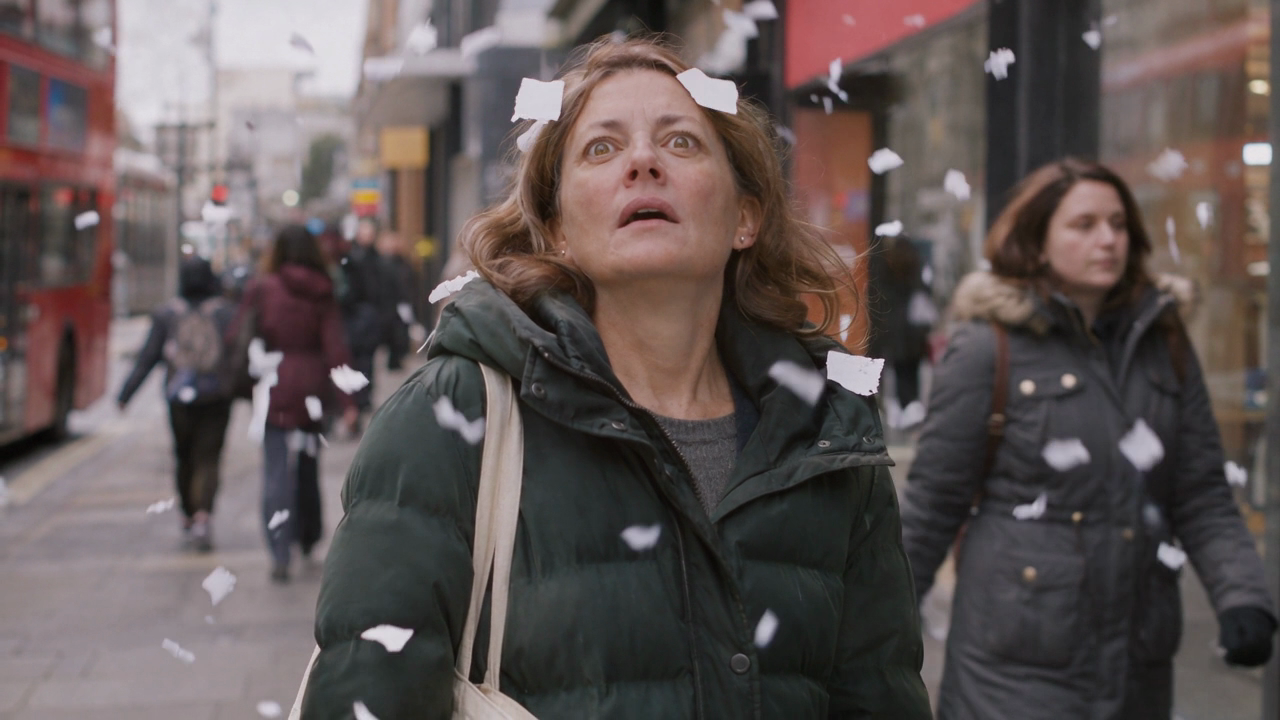
Use this as an inspection checklist, not a claim that this normal take demonstrates every listed fault: look for eye drift, broken hair edges and a face that stops matching its neck. Return to normal viewing size to make the decision.
Use generated portraits for fictional scenes. For a real person's testimony or a record of an actual event, use recorded or licensed footage. Surface texture cannot establish what happened.
Step 8: Export four seconds at normal speed
Open Video Editor, choose Media, then Choose files from this device and import Street motion. Files from your device work without an account and remain in your browser unless you save them to Assets.
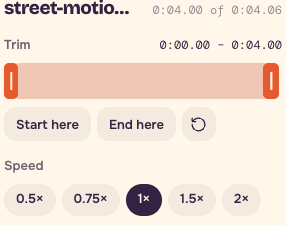
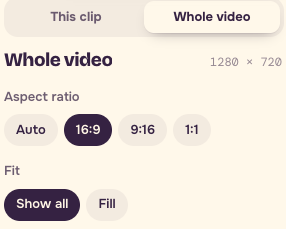
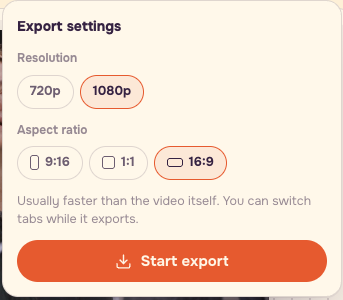
Choose Export video, check the export settings, and choose Start export. For this 720p source, 720p is sufficient; choosing 1080p cannot restore detail absent from the source. The recorded local example used the editor's selected 1080p option and produced a 1920×1080, 30fps, 4.00-second MP4.

Keep the café before/after study, street clip and checklist as separate items. Your result is a judged portrait and a short, readable movement.
Inspection checklist
- Compare forehead and cheeks at equal displayed scale.
- Inspect eyes, ears, hairline and collar.
- Check face shape and eye color before keeping a texture edit.
- Watch all four seconds at 1x.
- Check moving pedestrians and falling paper as well as the face.
- Use a new output file; retain the original.
- Keep fictional images separate from evidence of real events.
FAQ
Did the café edit become the street video?
They are two different fictional people. The café pair teaches skin comparison; the street still is the input for the motion example.
Does Strong guarantee a more accurate person?
More texture can also change identity. Check eyes, face shape, hairline and color before accepting the edit.
Was the new motion prompt generated in this recording?
The revised prompt was prepared in the public form. The supplied take is the existing production example. Keep the revision and historical instruction separate when comparing your own outputs.