

Trim an eight-second excerpt, compare wide and vertical framing, inspect a real Proteus upscale sample, and measure your exports.
Deliver the same eight-second excerpt in 16:9 and 9:16, together with a completed QC sheet. Start with where the video will be watched. A larger encoded frame does not establish that its detail has improved.
The source is Poppie: a PopNow short film, version 7, supplied without burned-in subtitles. The public Video editor, Resize Video and Upscale Video were recorded on November 7, 2026. The separate existing enhancement example uses topaz-video-ai → Topaz Proteus. The lesson host uses Gemini 3.8 Flash TTS, Puck, vocal_smile.
Lesson files and recipe
Download the recipe · Download the source film
The local lesson package stages wide.mp4, vertical.mp4, qc.json, the source film, soft-reject.mp4, drawing-reject.mp4, drawing-selected.mp4, portrait-before.mp4, portrait-proteus.mp4 and the recipe. These links are reserved publication paths; this lesson has not been uploaded or published.
The wide and vertical files are actual exports from the public browser tools, saved and reopened. Their measured properties appear below. No paid enhancement was submitted for this lesson.
No generative prompt is needed for the supplied trimming and resizing exercise. The portrait enhancement pair already exists; using it for comparison does not require buying another pass.
1. Reject damage before enlargement
Play soft-reject.mp4 at normal speed. The framing moves closer while surface detail stays soft. Check the picture at the intended destination size before approving it.
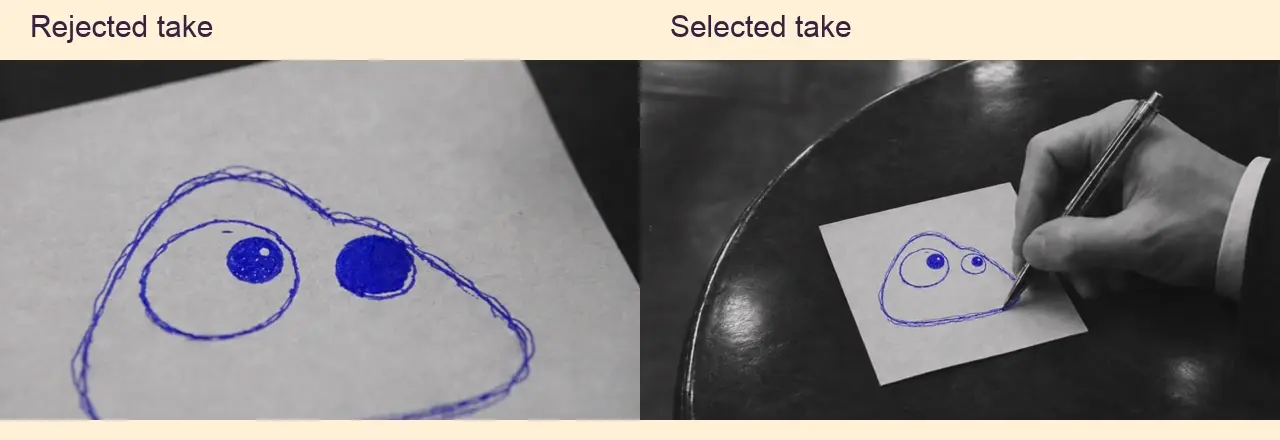
Compare drawing-reject.mp4 with drawing-selected.mp4 at the same source time, 3.5 seconds. The rejected take pushes tightly into the paper and turns the small eye into a much larger solid mark. The selected take keeps a wider view and a smaller eye. Replace a faulty shot before choosing enlargement.
2. Trim the actual final film
Open Video editor. Under Media, choose Choose files from this device and add film-v7.mp4. If the sample project appears, remove its clips, text and sticker first. Local editing and downloading work without an account.
Select the film clip. Move its Trim handles to 3:19.00–3:27.00: source interval [199, 207). The project should contain exactly one eight-second clip at 1×, with source volume 100%.
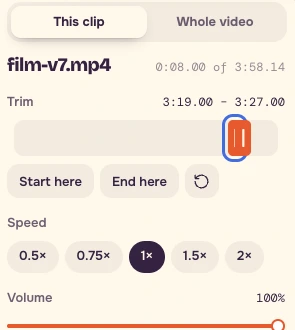
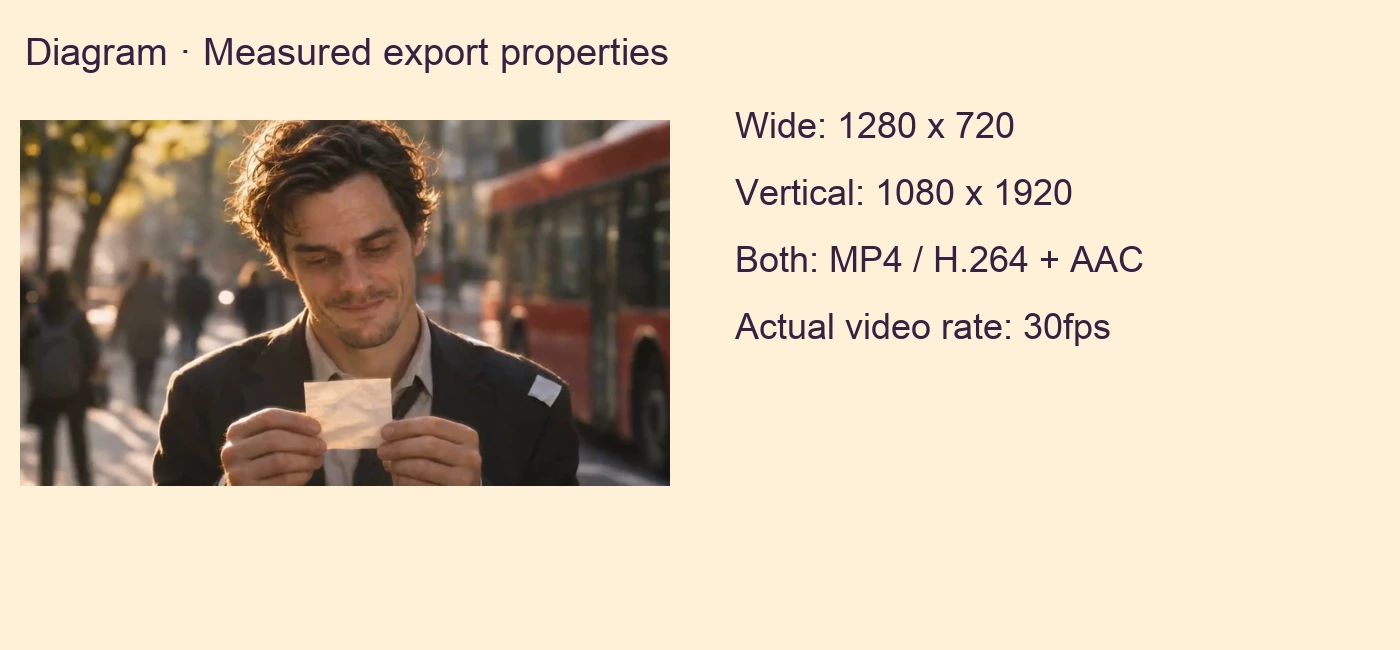
The full source is 238.144 seconds, 1280 × 720, H.264 at 24fps with AAC audio. Resize Video accepts up to three minutes, and the enhancement step uses at most sixty seconds at a time. Use the eight-second excerpt for this exercise.
3. Export the wide version
Choose Effects → None and Filters → None. With a single source clip there is no cut transition to add. Under Whole video, choose:
| Setting | Value |
|---|---|
| Aspect ratio | 16:9 |
| Fit | Show all |
| Resolution | 720p |
| Fade in / Fade out | Off |
| Clip sound | On |
| Clip speed | 1× |
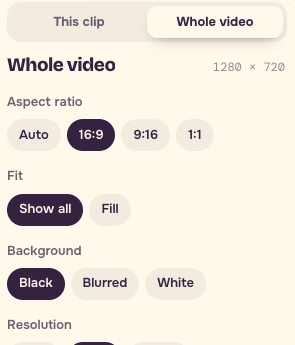
Choose Export video → Start export → Download MP4. Reopen the downloaded file and record its actual dimensions, duration, file format, codec and sound. Use wide.mp4 as the input for the next step only after checking the actual bytes. Keep a WebM export's real extension if that is what your browser produces.
4. Choose vertical framing on real frames
Open Resize Video, add the checked eight-second wide file and choose TikTok · Reels · Shorts. Compare Crop to fill with Blurred background.
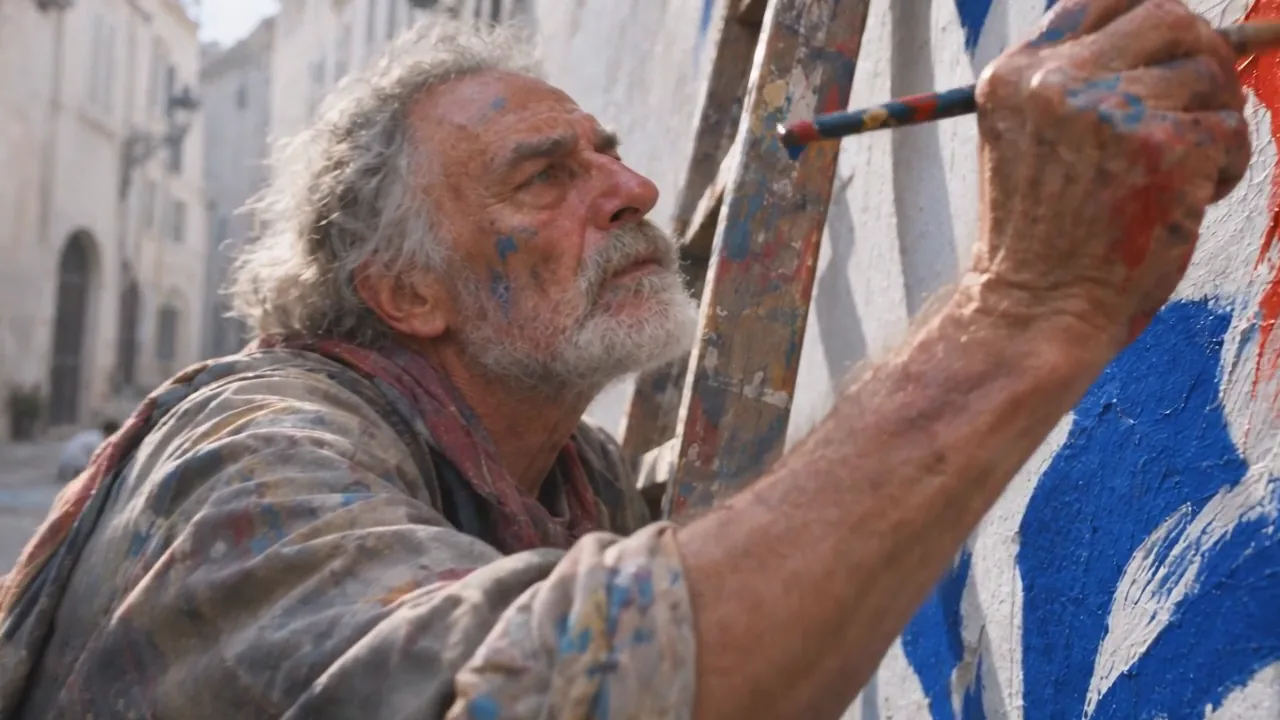
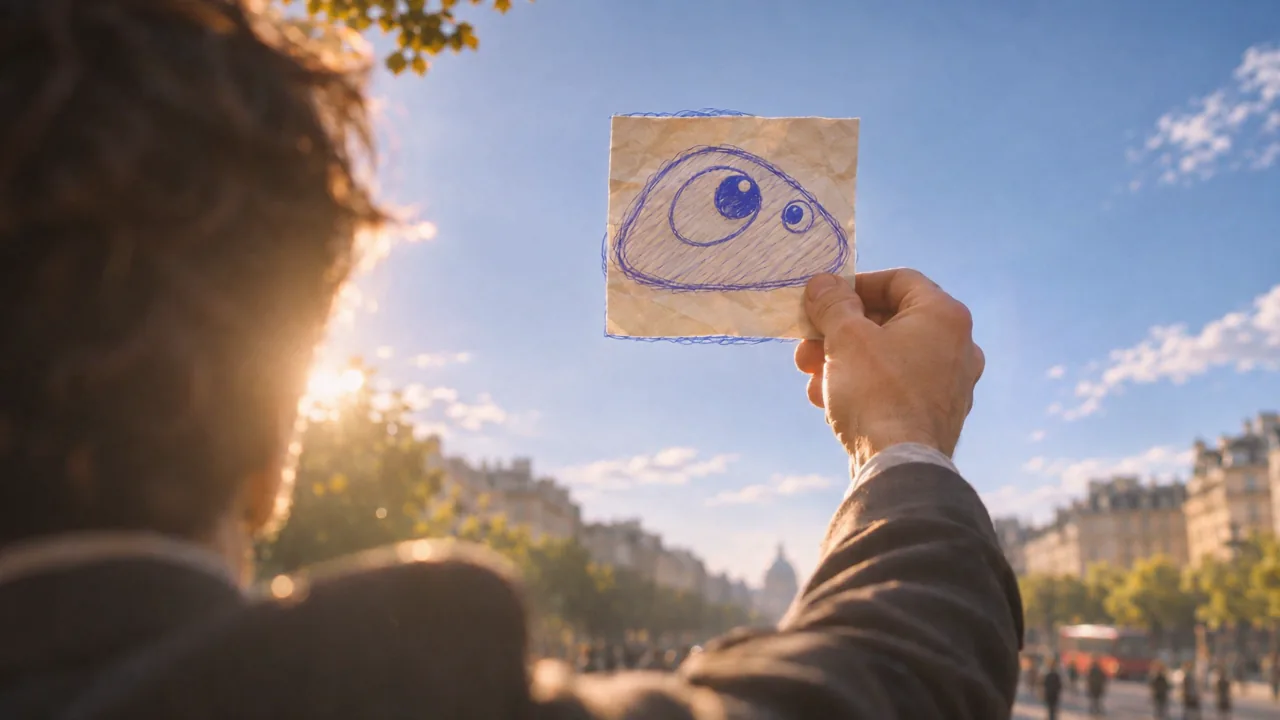
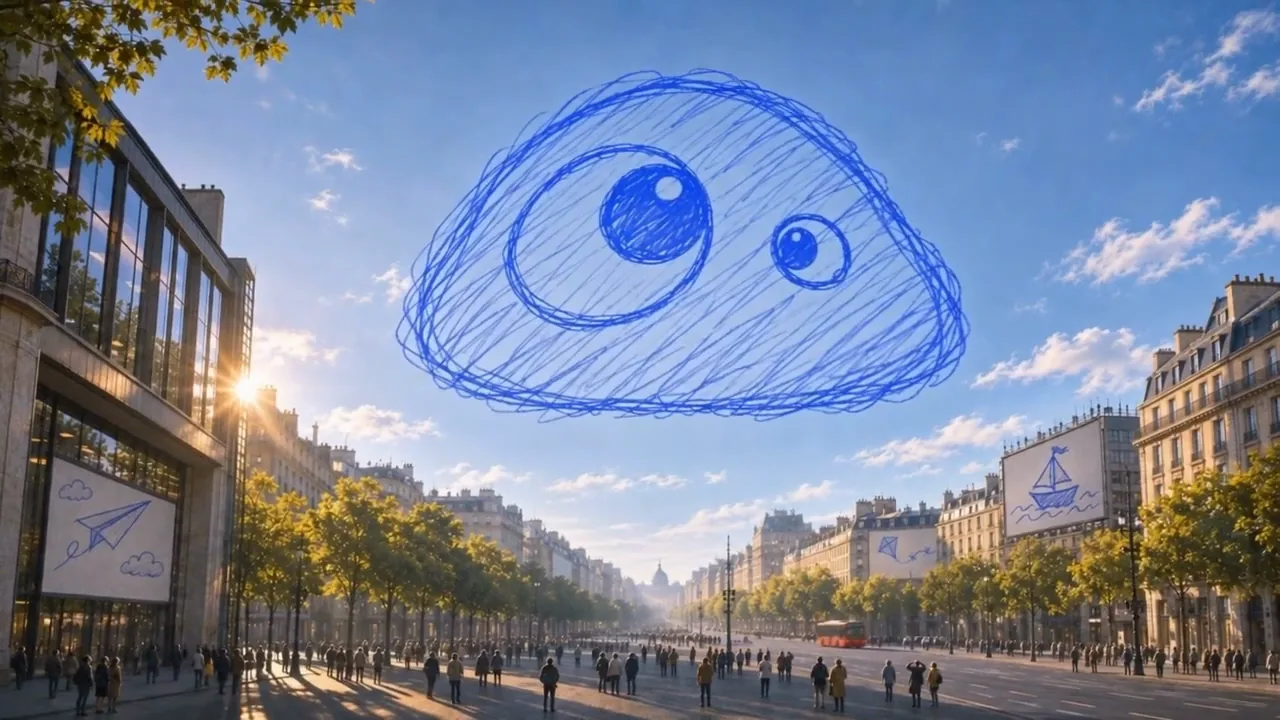
At excerpt 0 seconds / source film 199 seconds, the man's face stays fully inside the centred 9:16 window. At excerpt 4 seconds / source film 203 seconds, that same crop removes both sides of the large sky drawing. The sky shot is the reason to retain the full source width for this excerpt.
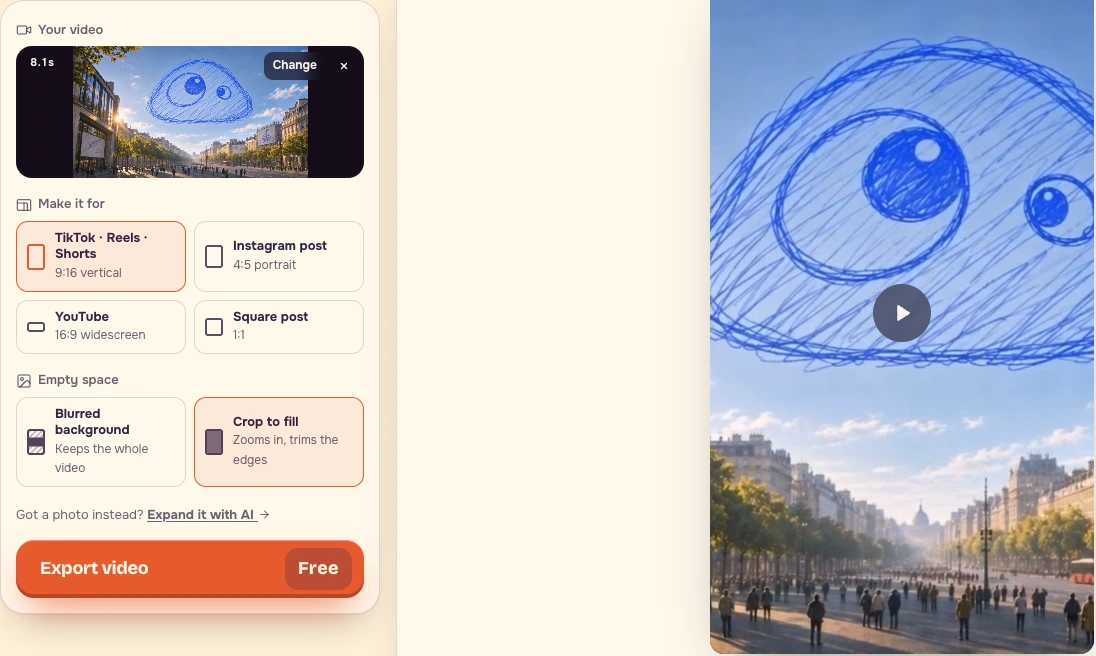
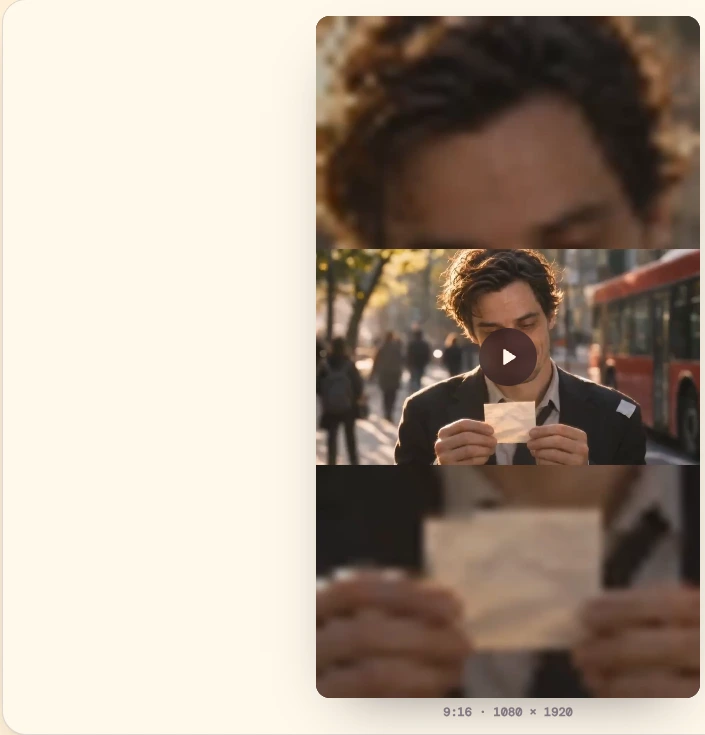
Choose Blurred background → Export video → Download. Reopen the actual vertical download. The whole source image should remain visible, with the blurred image filling the vertical frame. That also makes the main image smaller: check its readability on a phone. Measure the exported dimensions; do not assume they are 1080 × 1920 on every device.
5. Compare a separate real upscale sample
Open portrait-before.mp4 and portrait-proteus.mp4 at matched source times and equal displayed sizes. Both last three seconds. The input is 540 × 720, and the Proteus output is 1080 × 1440. Inspect hair, skin and jacket texture, then play both at normal speed to judge stability.
In Upscale Video, choose the Portrait upscale example, Use → Upscale, Output size → 1080p, and More options → Model → Topaz Proteus. Standard uses Video Upscaler, a different model. Name the actual option you compare.
Read the populated action-button price and record the date before buying a pass. The populated Topaz Proteus action showed 120 credits for this three-second example at 1080p on November 7, 2026. No enhancement task was submitted. The supplied portrait pair is a separate historical example, not an enhancement of the film excerpt.
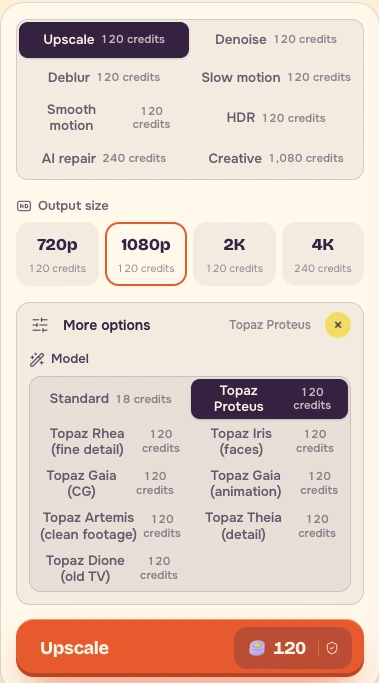
For a clean 720p source requested at 1080p, compare useful detail and its temporal stability against a simple resized export before paying for AI enhancement.
6. Complete the QC sheet
Play both actual downloads through. Check the cuts, paper, sky drawing and source mix. Record faults with timecodes. Keep the film, exports, recipe and completed sheet together.
| Check | Wide | Vertical |
|---|---|---|
| Source range | film-v7 [199, 207) | Checked eight-second wide file |
| Target | 16:9, source mix | 9:16, full-width image on blur |
| Actual dimensions | 1280 × 720 | 1080 × 1920 |
| Actual format / codec | MP4 / H.264 + AAC | MP4 / H.264 + AAC |
| Actual duration | Video 8.000s; container 8.064s | Video 8.0667s; container 8.128s |
| Sound expected / checked | Source mix; decoded signal matches source | Source mix; decoded signal matches source |
| First / last frames | Inspect both | Inspect both |
| Cuts | Watch through | Watch through |
| Crop fault | No reframing intended | Reject centred crop at 00:04 for lost sky drawing |
| Other fault timecodes | Fill after viewing | Fill after viewing |
| Keep / Revise | Keep for this exercise; verify strict delivery specs | Keep blurred framing; verify strict delivery specs |
- Confirm each delivered file opens and plays through once at 1×.
- Confirm the intended eight-second range and every cut.
- Check the paper, eyes, sky drawing and frame edges.
- Listen for the expected source mix at the beginning, cuts and end.
- Record actual format, dimensions, frame rate and duration.
- Note any difference between the wide and vertical downloads.
- Keep reframing and enhancement as separate operations.
- For strict client or broadcast specifications, use a finishing tool that exposes codec, frame rate and loudness measurements.
Both files were decoded and their sound compared to the source. Correlation was 0.9994 for wide and 0.9989 for vertical after approximate time alignment. This confirms retained source signal; it does not replace a listening and loudness check. The vertical export has two more video frames than wide. Keep these measured differences in the QC sheet instead of assuming identical duration from the filenames.
Save the completed sheet alongside the files. The editor's output resolution control does not substitute for those measurements.
FAQ
Do I need to pay for a new upscale to complete this lesson?
No. Use the supplied film for trimming and resizing, and compare the existing portrait-before.mp4 and portrait-proteus.mp4 files separately. No new enhancement pass is needed for that comparison. If you choose to buy a pass, read the populated action-button price and record the date first.
Is my export wrong if its dimensions or duration differ from the QC table?
Not necessarily. Vertical export dimensions can depend on the device, and the recorded wide and vertical downloads already differ in duration. Reopen your actual files, measure their properties and record the differences in your QC sheet. Check the intended source range, framing, cuts and sound; for strict delivery specifications, use a finishing tool that exposes codec, frame rate and loudness measurements.
Why use a blurred background when the centred crop keeps the face visible?
The face fits at the excerpt's opening, but the same crop removes both sides of the large sky drawing at 00:04. Blurred background keeps the full source width visible. It also makes the main image smaller, so check its readability on a phone before keeping the vertical version.