
Give every shot a job, cut six real production clips into a 24-second scene, and catch a performance failure before exporting.
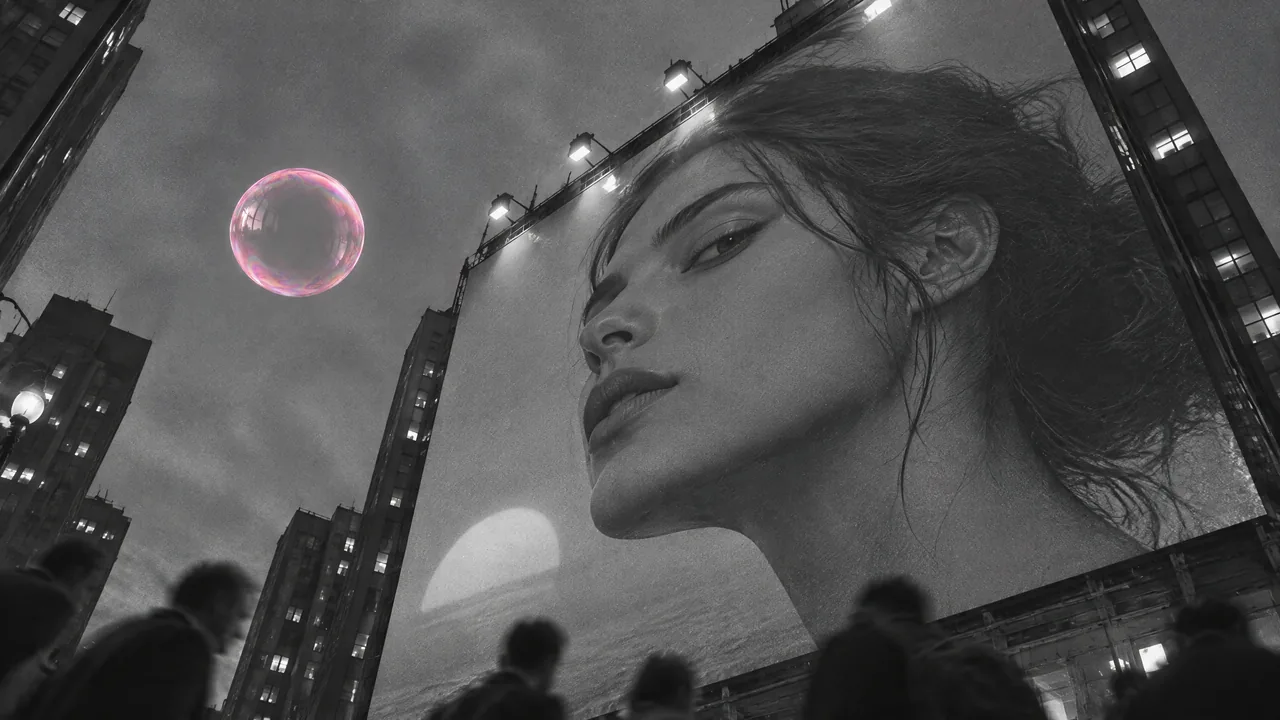
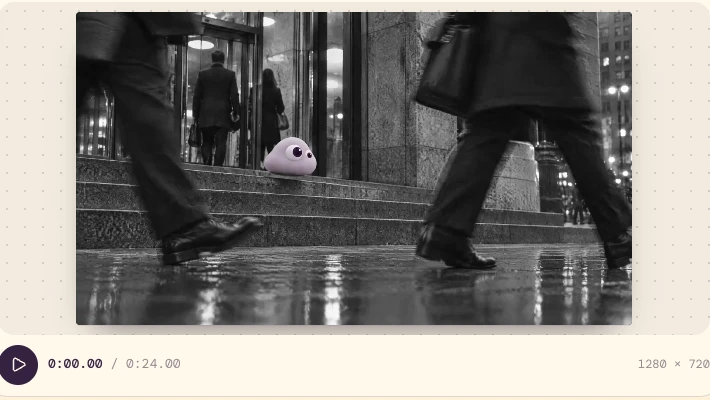
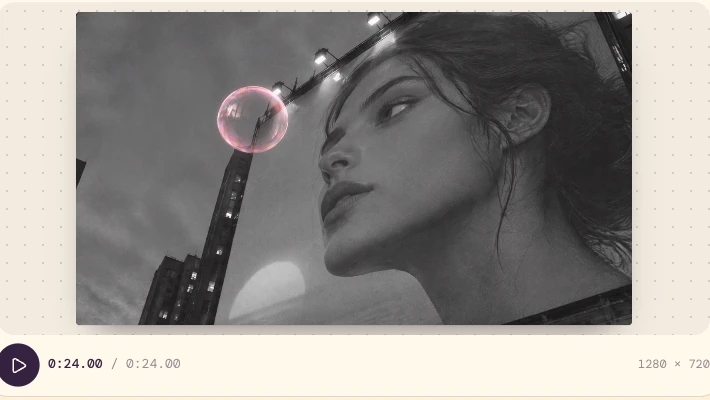
A scene moves an idea forward. Here, Poppie enters a grey crowd, pauses at the kerb, becomes an exception in a surveillance view, and blows a pink bubble that rises toward a billboard face. Six separate clips become a 24-second, 16:9 scene with five straight cuts.
The sources come from our production run for Poppie: a PopNow short film, made with Seedance 2.5. English public website controls were recorded on November 7, 2026, without an account. The source clips are 720p; the optional rebuild uses a smaller 480p picture check.
Lesson files
This local draft has not been published or uploaded. The links below are prepared publication destinations; anonymous public downloads remain unverified.
- Lesson files: six clean source clips, start images, a rejected take, prompts, a shot list and the illustrated worksheet.
- English recipe.
- Illustrated shot-list worksheet.
- 24-second scene exported in the browser.
Step 1: Write a job for every shot
| Shot | Job | Source file | Scene time |
|---|---|---|---|
| 1 | Establish small scale and entrance | steps.mp4 | 0–4s |
| 2 | Give the pause a feeling | kerb.mp4 | 4–8s |
| 3 | Mark an exception | surveillance.mp4 | 8–12s |
| 4 | Create the bubble | bubble.mp4 | 12–16s |
| 5 | Follow its ascent | skyward.mp4 | 16–20s |
| 6 | Give the bubble a destination | billboard.mp4 | 20–24s |
Use the low entrance to establish scale, the kerb pause for feeling, and the overhead shot to mark the exception. The final three shots create, follow and give a destination to the bubble. If two shots tell the same fact, decide whether both earn their place.
Step 2: Import six distinct clips
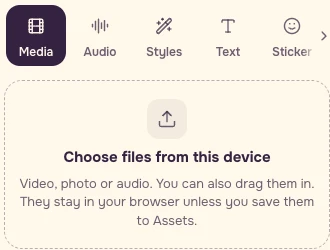
Open Video editor, choose Media, then Choose files from this device. Add steps, kerb, surveillance, bubble, skyward and billboard in that order. Local editing works without signing in; the files stay in the browser unless you save them to Assets.
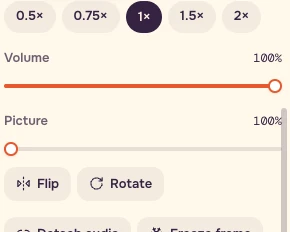
Select each clip. In Trim, keep 0:00.00–0:04.00, with Speed: 1×. The source files are slightly longer than four seconds, so check the displayed out point. Choose 16:9 in Whole video.
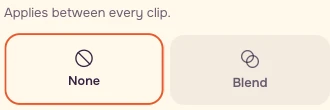
Open Transitions, choose All cuts, then None. In the current interface, transitions live in the left library.
Step 3: Judge what carries across the cuts
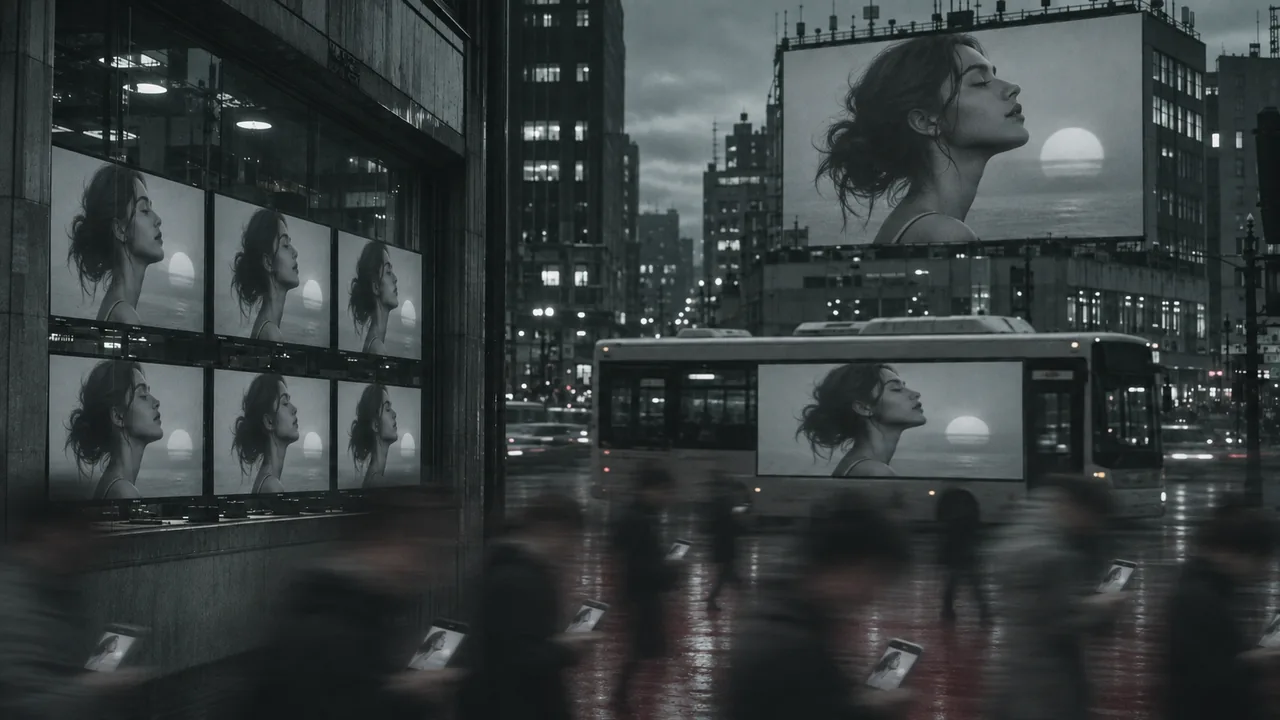
The landing becomes a pause at the kerb. Leave enough time to read the heavy eyelids. Surveillance changes viewpoint and marks the character as an exception. Lilac against grey links those shots; the pink bubble then carries attention into the upward tilt. The billboard profile repeats a face already present in the street reference.
Watch both sides of each cut at 1×. Keep the visual connection if you shorten the scene. The billboard source moves the bubble toward the face; inspect what actually happens before describing it as passing the whole face.
Step 4: Rebuild only the missing bubble shot
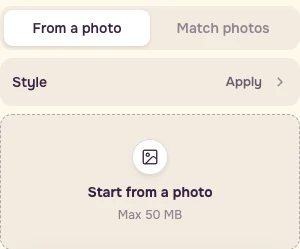
You can complete the edit from the supplied clips without another generation. If you need a new bubble action, open Video, select Generate, From a photo and Seedance 2.5. Put bubble-start.png in Start from a photo and bubble-end.png in End on this photo.
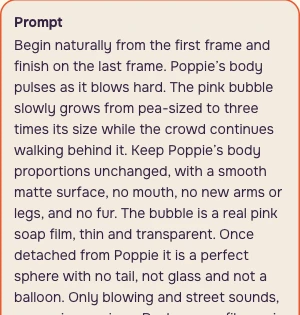
Translated from our original prompt — Bubble growth:
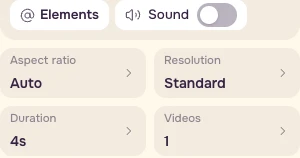
For a smaller practice check, set Duration: 4s, Resolution: Standard / 480p, Videos: 1, Aspect ratio: Auto and Sound: off. These are practice settings; they do not recover the historical source audio setting.
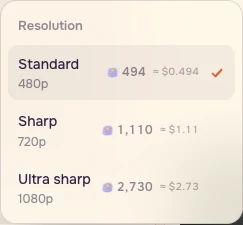
The signed-out form displayed 494 PopNow credits on November 7 with the photo slot empty. Read the refreshed quote after attaching both images and recheck it after sign-in if requested. Generate only when that specific amount fits your budget. No generation was submitted for this recording; the photo-attached quote and sign-in boundary were not tested.

Step 5: Reject an action that breaks its job
The separate sill take begins with a rounded Poppie and ends with its body almost flat. Its original direction asked to preserve proportions. That ending cannot fill an upright-character shot. This real reject is excluded from the six-shot edit.
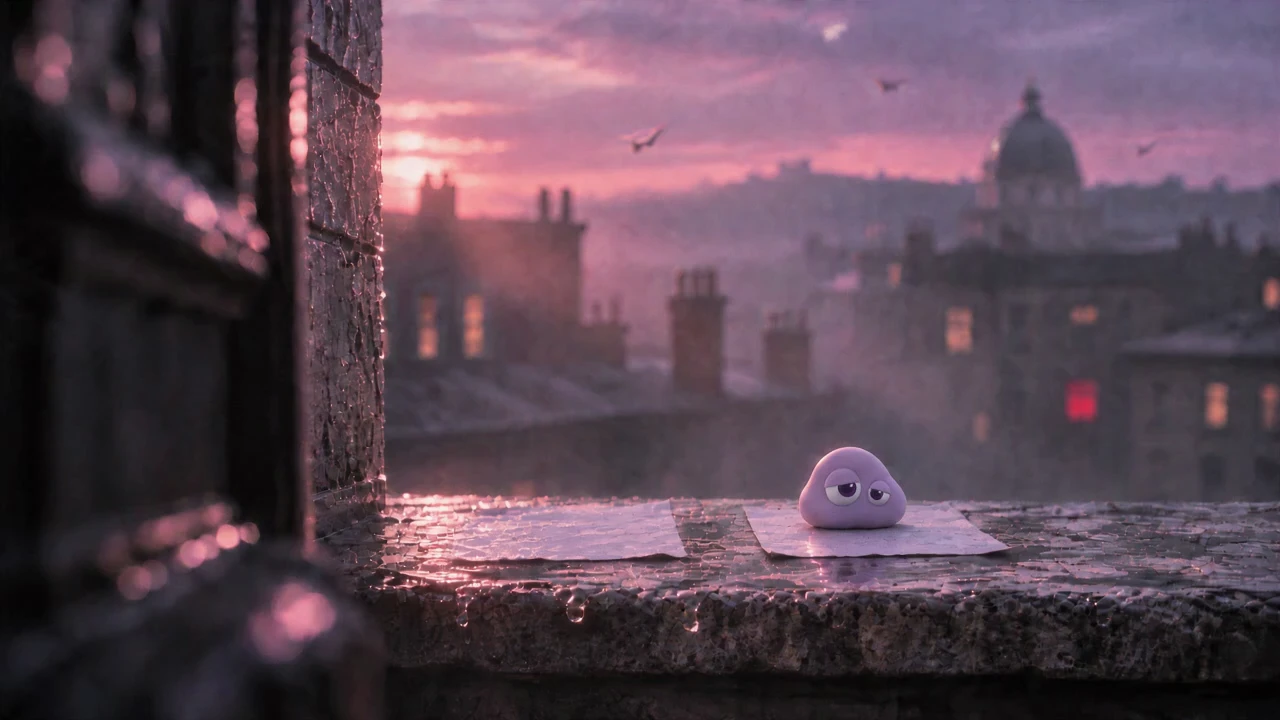
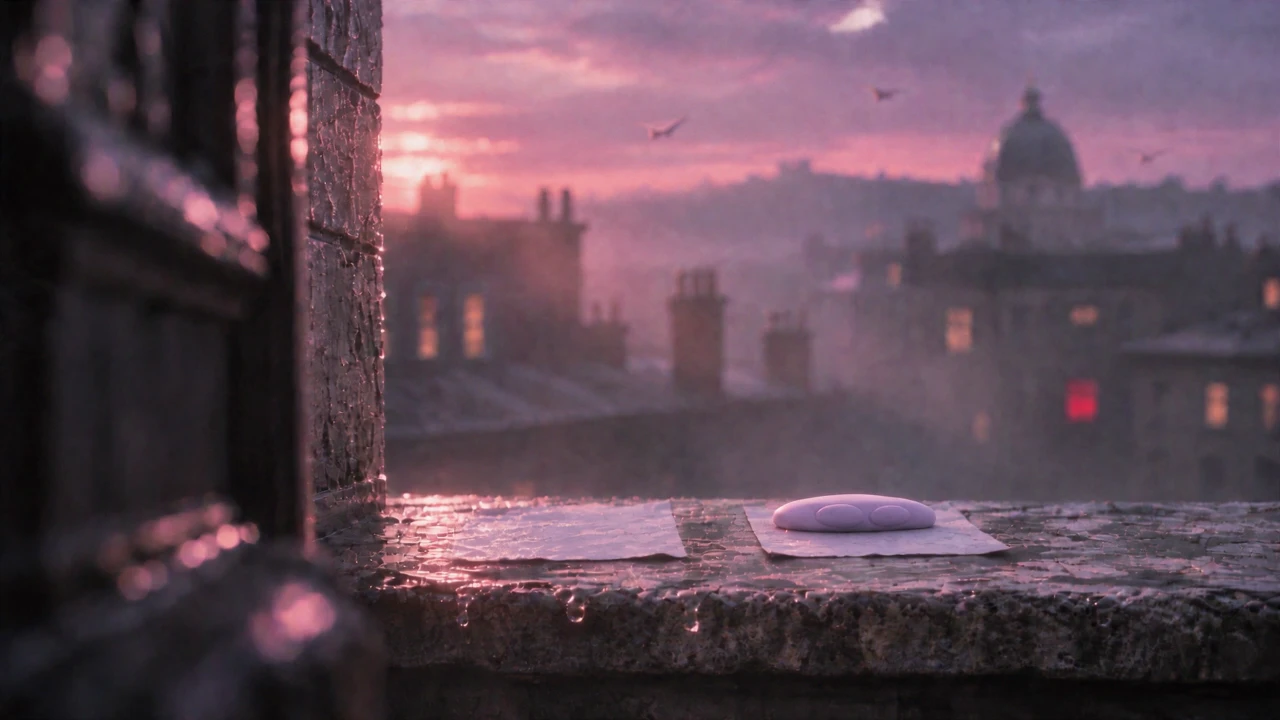
Replace the shot, shorten its usable section, or change the written intention. Choose according to the scene, then review the new cut.
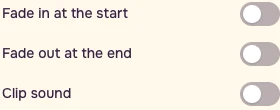
Return to the six-shot timeline. Turn Clip sound off for this picture pass and play from the beginning. Confirm 24.00 seconds, six clips and five straight cuts.

Step 6: Export, reopen and compare
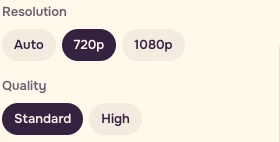
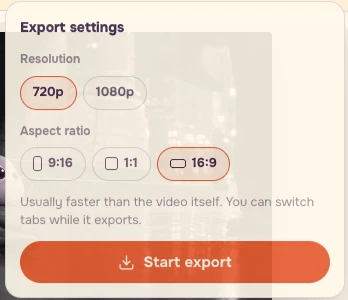
Choose 720p and Standard under Whole video, then Export video → Start export. Reopen the downloaded file and compare the first and last frames with the timeline.
Checklist
- Six actual source clips, not six labels on one take.
- 24.00s total at1x.
- Every shot adds a new fact.
- Colour and eyeline carry attention across cuts.
- Reject unplanned body flattening.
- No blend hides a missing action.
- Reopen the export and compare its endpoints.
- Keep the script, six-row shot list, prompts, inputs and export together.
- Change one cut and write what became clearer.
All six production prompts
These are English translations of our original directions. The recipe includes all six; source sound is muted for this lesson’s picture pass.
Steps
Kerb
Surveillance
Skyward
Billboard
When to use a controlled shoot
Use a controlled shoot when exact geography, repeatable gestures or precise human timing carry the story. Filmmaker can organise scripts, characters and shots; Previs can help block the camera. Decide what a missing shot adds before paying for it.
FAQ
Why does the scene last 24 seconds?
Six clips are trimmed to four seconds each at 1×, joined by five straight cuts. That makes 24.00 seconds. Give each shot a new job before adding duration.
Do I need to generate new clips to complete the exercise?
The supplied six sources are enough to practice the edit. Rebuilding the bubble shot is optional and paid. Read the current quote with your actual inputs before submitting.
Why does the exported scene have no sound?
This exercise is a picture pass. Clip sound is off so you can judge the action and cuts independently. The recorded browser export has no audio stream; keep sound design as a separate pass.