

Your photo already sets the people, the place and the light. Spend the prompt on what changes and how the camera moves, and upscale soft photos first.
A photo answers most of the questions a video model would otherwise guess: who is there, what they wear, where they stand, how the light falls and what the picture looks like. Describing all of that again does not help. At best the words are wasted; at worst the model tries to match your description instead of the photo, and the opening frame starts to drift.
Step 1: Check what the photo already decides
Look at the photo for ten seconds and list what is settled: the people and their poses, the setting, the time of day and the light, the colours and the style. None of it needs to go in the prompt.
Step 2: Write the change and the camera
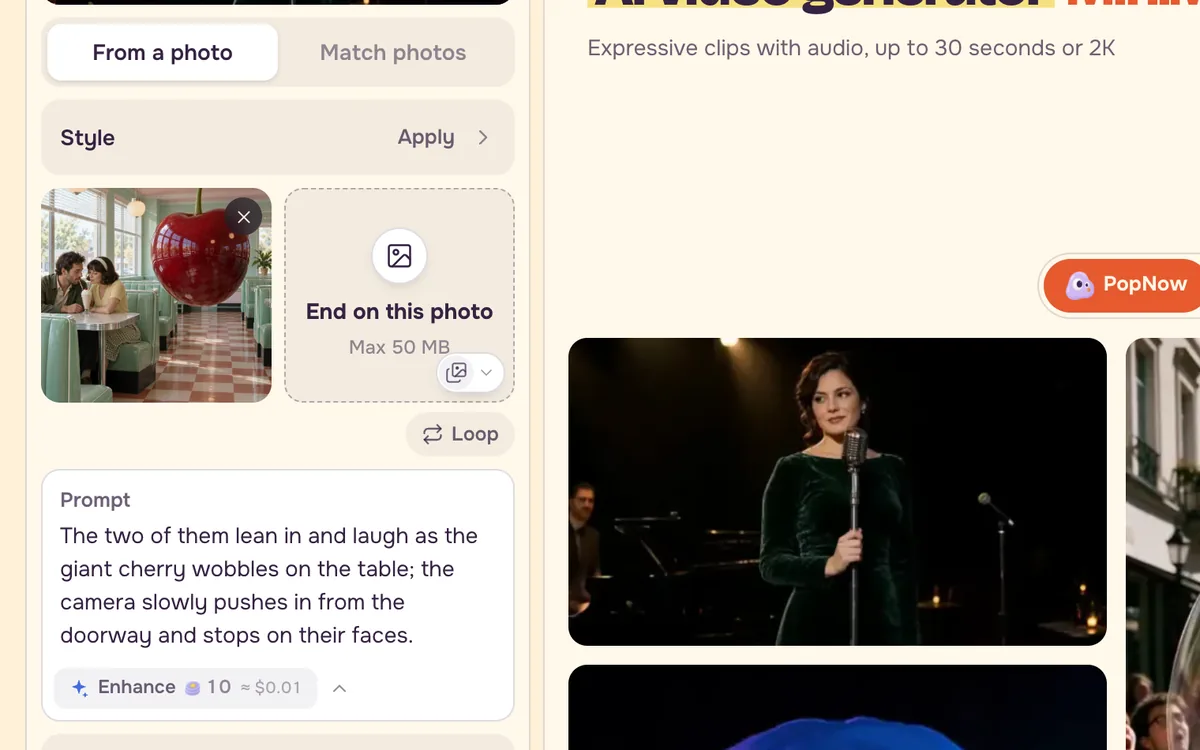
A still cannot show time. Your prompt has two jobs: say what happens during the clip, and say how the camera moves. With a good photo, a sentence for each job is usually all it takes.
She lifts the mug, blows across it once and smiles toward the window as steam curls up; the camera eases in from a medium shot to a close-up and stops on her face.
Write actions with a start and a finish ("turns, waves, then lowers her hand") rather than a state ("is happy"). Say where the camera ends up, so the move has somewhere to go.
Step 3: Only bring in what the frame already holds
When a prompt mentions someone or something that is not in the photo, many models cut to a new scene to make room for it. Leave new elements out, or say exactly how they arrive: "a cyclist rides in from the left edge and passes behind her".
Step 4: Upscale a small or blurry photo first
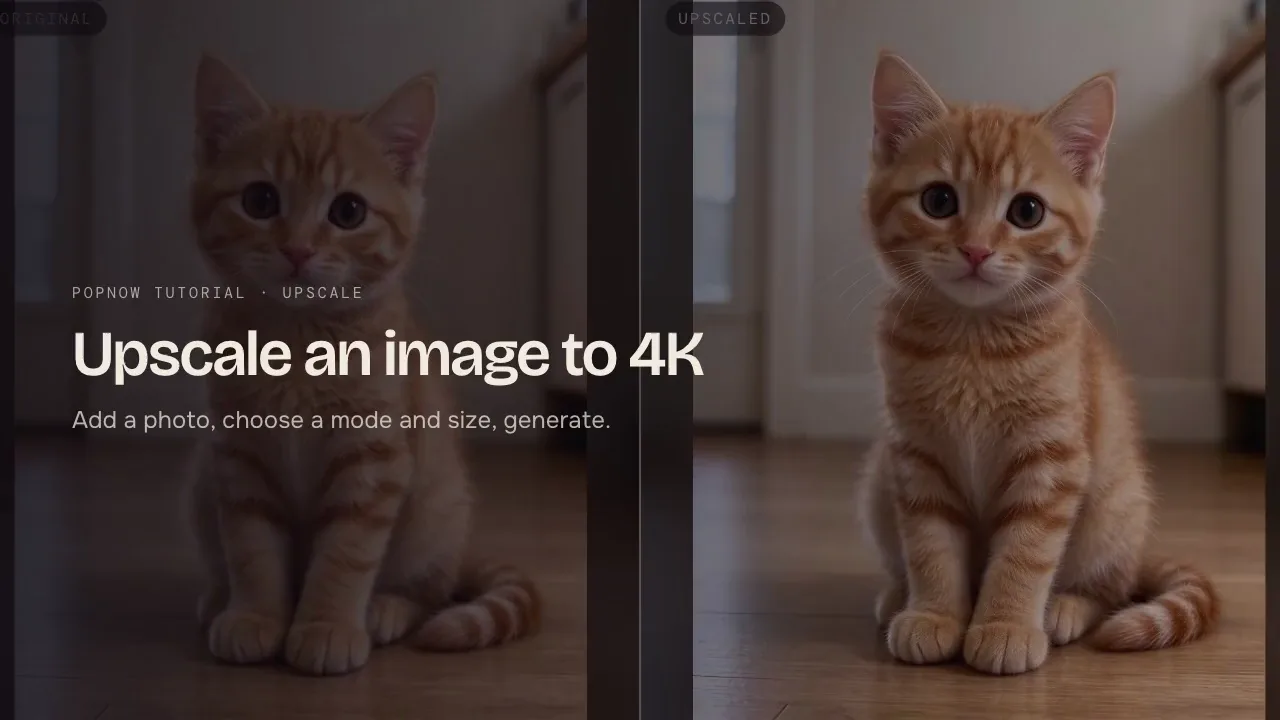
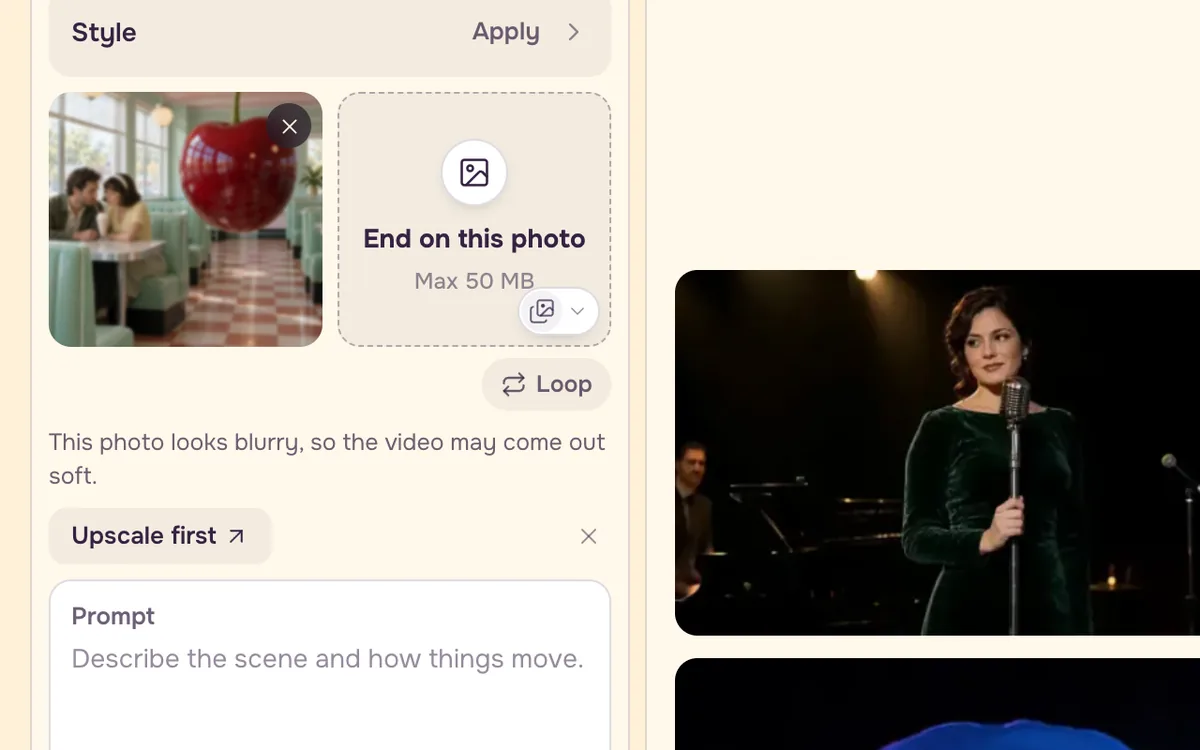
Video models stretch the opening frame up to the output size, so a small or soft photo turns into a soft clip. When the start photo you add is clearly too small or too blurry, a short line appears under the upload slot with Upscale first. It takes the photo to Upscale, and once the sharper version is ready it goes straight back into your video as the start frame, with your prompt and settings kept. The check runs in your browser and stays quiet unless the photo is clearly too small or too soft; you can dismiss it and generate anyway.
A before and after
| Instead of | Write |
|---|---|
| A woman with red hair in a cream sweater sits at a wooden table in a sunny kitchen holding a mug. | She lifts the mug, blows across it once and smiles toward the window. |
| Beautiful cinematic lighting, highly detailed, sharp focus. | The camera eases in to a close-up and stops on her face. |
FAQ
Why does my clip cut to a different scene?
Usually the prompt names something the photo does not contain, or describes the scene differently from the picture. Remove the new elements, keep to motion and camera, and add "one continuous shot" if the model still cuts.
How long should an image to video prompt be?
Shorter than a text to video prompt. Two sentences cover most clips: what happens, and how the camera moves. Add a third for sound if the model makes sound.
Will Upscale first change my photo?
The default upscale sharpens the photo and fills in missing detail. On a very blurry photo it can tidy small features such as eyes, so if a face has to stay exactly as it is, choose Precise on the upscale page before you press Upscale.