Image splitter
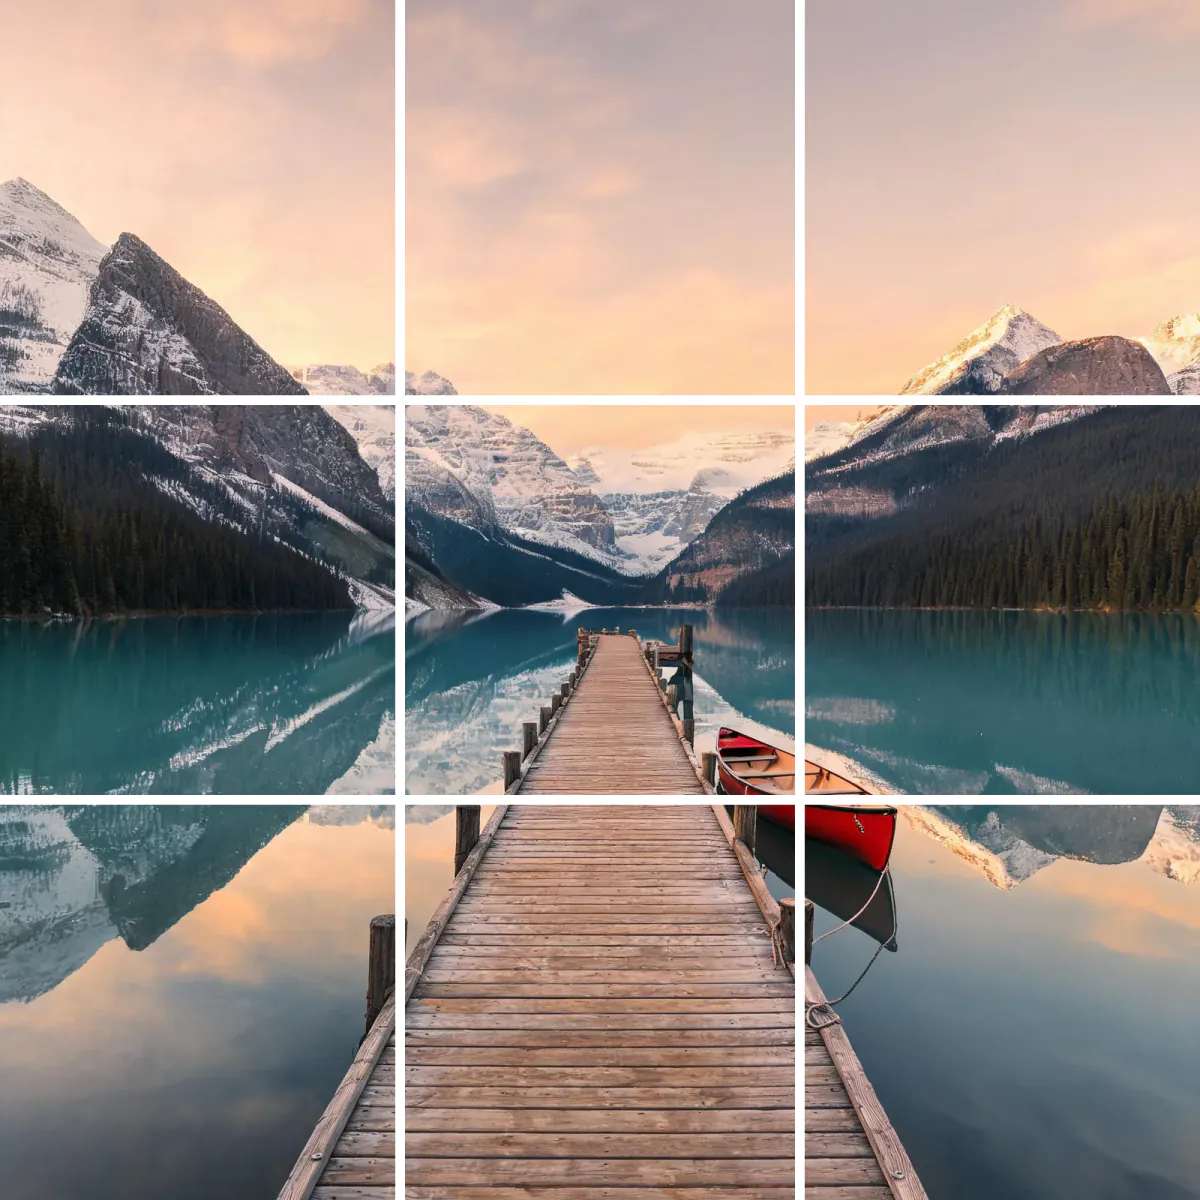
An image splitter cuts one picture into equal tiles. People use it for Instagram profile grids, where one big photo is spread across 3, 6 or 9 posts, for panorama carousels that you swipe through, and for printing a large picture on several sheets. This tool crops your image to the exact shape first, then splits it into rows and columns at 1080 pixels per tile and numbers every tile in the order you should post it. It runs in your browser, so the image is never uploaded and the ZIP has no watermark.
Questions
What order should I post the tiles in?
For profile grids, post in the order of the numbers: #1 is the bottom-right tile and the last number is the top-left. For a one-row panorama, add all tiles to a single carousel post from left to right.
What size are the tiles?
Every tile is 1080 pixels wide — 1080 × 1080 for Square and 1080 × 1350 for Portrait 4:5, the sizes Instagram recommends.
Can I use it for other sites?
Yes. The tiles are ordinary JPG files, so they work for carousels on LinkedIn, Threads, Facebook or anywhere else that shows posts side by side.
How do I split an image into equal parts?
Pick a layout: 1 × 2 for halves, 1 × 3 for thirds, 2 × 2 for quarters, 2 × 3 for six and 3 × 3 for nine. Every tile is the same size, and the crop slider decides which part of the photo fills the grid.
Is the image splitter free?
Yes, with no sign-up and no watermark. The image is split by your own browser and never uploaded.
Why does my grid look wrong on my profile?
Most often the tiles were posted out of order, or other posts are pushing the grid out of alignment. Post #1 first and the rest in number order. Also check that your Tile shape matches the frame your profile displays.
Can I split a photo that is not the right shape?
Yes. The tool crops your photo to fit the layout you chose, and you decide what is trimmed with the Crop position slider. If too much is lost, try a different layout or a different tile shape.
Which layout is best for a first try?
Grid 2 × 2 is the simplest, with only four posts to upload and fewer cut lines to worry about. Once you are happy with that, try the 3 × 3 profile grid for a bigger effect.
Do I have to post all the tiles at once?
For a carousel, you add all the tiles to one post, so yes. For a profile grid you can post them one after another, but the picture only looks complete once every tile is up in the right order.
Can I edit the photo before splitting it?
Yes. Adjust brightness, add a filter or fix other details first, save the result, then upload it here. Editing before you split keeps the look the same across every tile.
Go deeper
Before and after: what changes
The tool takes one finished picture and turns it into several numbered tiles, so a single image can be spread across a profile grid or a swipeable carousel.
- What changes
- Your photo is cropped to the shape of the layout you picked, then cut into equal pieces. Each piece becomes its own file with a number showing where it belongs in the posting order.
- What stays the same
- The colors, sharpness and content of your picture are not edited. Put the tiles back side by side and you get the same image you uploaded, just trimmed at the outer edges.
- What to look at when you compare
- Check the outer edges first, since the crop slider decides what gets trimmed. Then look at the cut lines between tiles: faces, text and small objects should not sit right on them.
Photos that work, and photos that don't
Works well
- A wide landscape or skyline with detail spread across the frame works well for a 1 × 3 panorama carousel.
- A portrait or a still life with the subject in the middle of the frame suits a 3 × 3 grid, because the cuts fall on the background.
- A high-resolution photo keeps each tile crisp, since every tile is made at 1080 pixels wide.
Avoid
- A small or heavily compressed image looks soft once it is divided into tiles and shown at full size.
- A group photo with faces along the cut lines gets people split between two posts and looks awkward in the feed.
- A photo with text or a logo near the edges can lose letters when the crop trims it, or have them split across tiles.
Step by step
- Pick the photo for the layoutPress Upload photo and choose your picture. Think about the layout first: a wide image suits 1 × 2 or 1 × 3, while a tall or square one suits 2 × 3 or 3 × 3.
- Choose a preset or layoutTap a preset such as Profile grid 3 × 3, Panorama carousel or Grid 2 × 2, or pick a Layout yourself. Then set Tile shape to Square 1:1 or Portrait 4:5 depending on how your profile displays posts.
- Frame it with Crop positionDrag the Crop position slider, which starts at 50, until the important part of the picture sits where you want it. Watch the numbered preview so no face or word lands on a cut line.
- Download the tilesPress the Download button, which shows the tile count, for example Download 9 tiles. Unzip the file and check that the numbers match the preview.
- Check and post in orderOpen the first few tiles and confirm each looks good alone. Then post #1 first, following the posting order note under the preview, so the picture lines up on your profile.
How the splitting works
- Layout
- The layout sets the number of columns and rows, from 1 × 2 up to 3 × 3. More tiles means each piece shows less of the picture.
- Tile shape
- Square 1:1 gives the classic look. Portrait 4:5 makes each tile taller, so the whole picture is taller and more of a tall photo survives the crop.
- Crop position
- When your photo does not match the target shape, the extra part is trimmed. This slider moves the crop window so you choose which side is lost.
- Runs in your browser
- The cutting happens on your device and the photo stays there, so nothing needs to be uploaded to a server.
Where to go next