Halftone effect generator
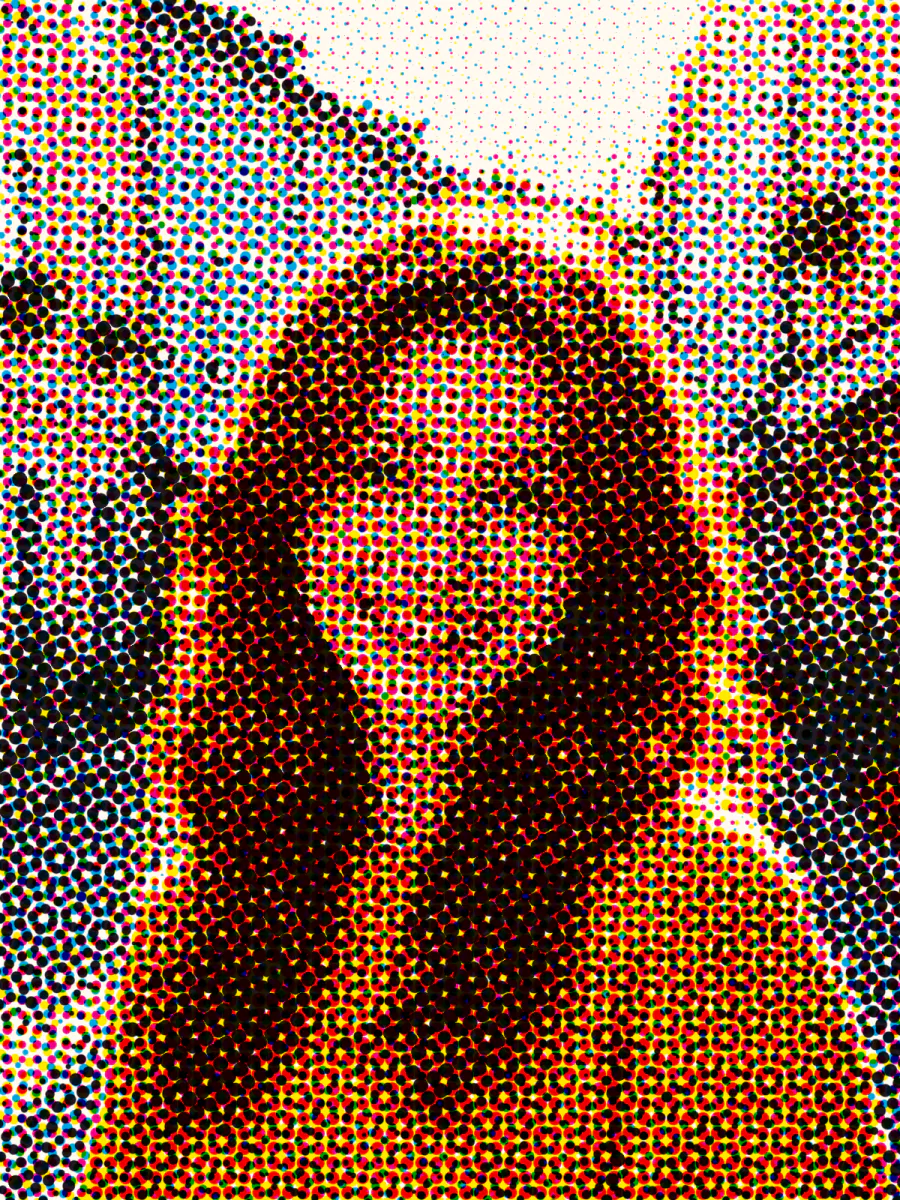
Printers fake shades of gray and color with dots: big dots where it's dark, small dots where it's light. That's the halftone look of old comics and newspapers. Four color mode rebuilds the photo from cyan, magenta, yellow and black dots, each at its own angle like a real press. One ink mode uses a single color on paper — classic black on newsprint, or loud pink on yellow.
Questions
What is a halftone effect?
It's the dot pattern printing presses use to show shades with one ink. Dark areas get large dots that almost touch, light areas get tiny dots, and from a distance your eye blends them into tones.
What's the difference between Four color and One ink?
Four color screens cyan, magenta, yellow and black separately, so the photo keeps its colors like a comic page. One ink turns brightness into dots of a single color you choose, on a paper color you choose.
Can I print the result?
Yes. For printing, use a smaller dot size and download the PNG, which keeps the dots sharp.
Why does my halftone photo look blurry or muddy?
Usually the dots are too large for the amount of detail in the photo, or the original image was dark and low in contrast. Lower the Dot size and try a brighter photo, and check that Strength is still at a high value.
Which preset should I start with?
Comic print is a good first choice for portraits because it keeps color. Newsprint gives a quiet black-on-paper look, and Pop dots is the boldest. You can change every setting after picking one.
Can I use halftone on a photo of people?
Yes, it works well on portraits of adults, friends and family. Pick a photo where the face is large and well lit, and keep the Dot size small enough that eyes and smiles stay readable.
Does the halftone effect lower the quality of my original?
No. The filter creates a new image and your original file stays untouched. If you want to try again with different settings, just move the sliders or upload the photo again.
How do I make the dots look like a real printed poster?
Use a smaller Dot size, keep Strength high, and download the PNG. For a classic look, try One ink mode with a strong contrast between the dot color and the paper color.
Go deeper
Before and after: what changes
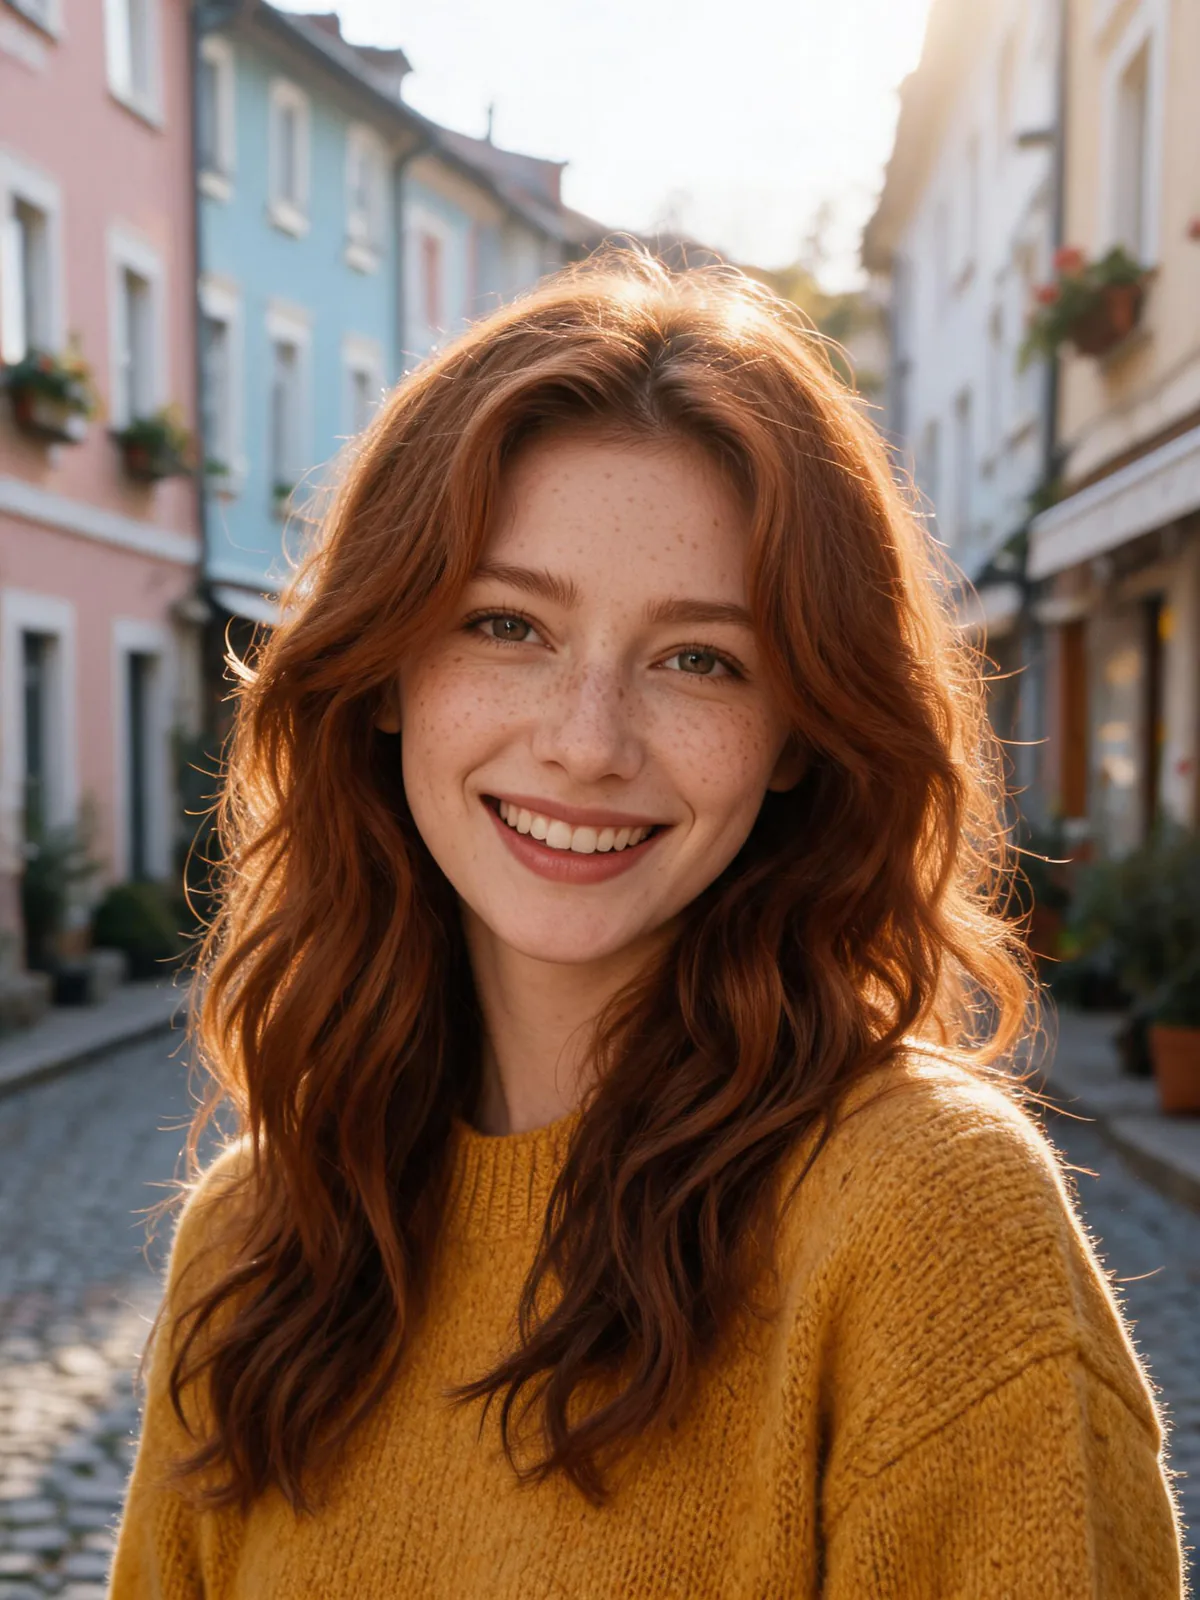
The halftone filter swaps the smooth gradients of your photo for a screen of dots, so a normal picture starts to look like a printed comic page or a newspaper photo. The shapes in the image stay recognizable, but the tones are now built from dot size instead of smooth shading.
- What changes
- Smooth shading and soft edges turn into visible dots. In Four color mode the colors are rebuilt from cyan, magenta, yellow and black dots. In One ink mode everything becomes one dot color on a flat paper color.
- What stays the same
- The composition, the outlines of faces and objects, and the overall light and dark areas stay in place. Your original file is not changed, and the photo stays on your device.
- What to look at when you compare
- Use the Before and After view and check the eyes, mouth and other small details. If they dissolve into dots, lower Dot size. Also look at the shadows: they should be filled with big dots, not turn into solid blobs.
Photos that work, and photos that don't
Works well
- A portrait with a plain or lightly detailed background keeps the face readable and gives the cleanest comic look.
- Photos with strong contrast between light and dark areas produce a clear difference between large and small dots.
- Bold, simple subjects like a pet, a car or a single object hold their shape even when the dots are large.
Avoid
- A busy crowd or cluttered scene turns into noisy dot texture because there is no clear subject for the eye to follow.
- A very dark or very washed-out photo has almost no tonal range, so the dots end up all the same size and the effect looks flat.
- A tiny, low-resolution image with fine detail loses that detail quickly, because the dots are bigger than the details they have to describe.
Step by step
- Upload a clear photoPress Upload photo and choose an image, or start with the sample to see how the filter behaves. Pick a picture where the subject is easy to spot, since the dots will simplify everything.
- Choose a preset firstClick Comic print, Newsprint or Pop dots to get a starting look. Presets set the Mode, Dot size and Angle for you, so you only need to fine-tune afterwards.
- Set the mode and StrengthSwitch between Four color and One ink depending on whether you want full color or a single-ink print. Strength starts at 100; lower it if you want some of the original photo to show through the dots.
- Adjust Dot size and AngleMove the Dot size slider until faces and key details are still readable, then change Angle to move the pattern. In One ink mode, try the angle that looks least noticeable for a classic print feel.
- Check, then downloadUse Before and After to compare, and look closely at eyes and edges. When you are happy, download a PNG for the sharpest dots or a JPG for a smaller file, or use Send to to continue in another tool.
How the effect works
- Dots instead of shades
- The filter measures how bright each small area of your photo is and draws a dot to match. Darker areas get bigger dots and lighter areas get smaller ones.
- Dot size
- This controls how coarse the screen is. A large value gives a bold pop-art look, a small value keeps more detail and looks more like a real print.
- Angle
- Angle rotates the grid of dots. Changing it can hide or reveal patterns that look like lines, so try a few values if the result looks strange.
- Runs in your browser
- The effect is calculated on your own device, so changes show up quickly as you move the sliders. You can try many settings without waiting for a render.
Where to go next