
Rehearse a three-shot conversation in Previs. Save a before preview, adjust screen direction and framing, then compare a free local export.
Check a conversation before spending on a finished video. In this exercise, you will use an existing two-person scene, adjust one camera's position and two cameras' aim, and export a five-second rehearsal. You can do the manual exercise signed out. It uses local preview recording, not AI generation.
Step 1: Save the unedited version
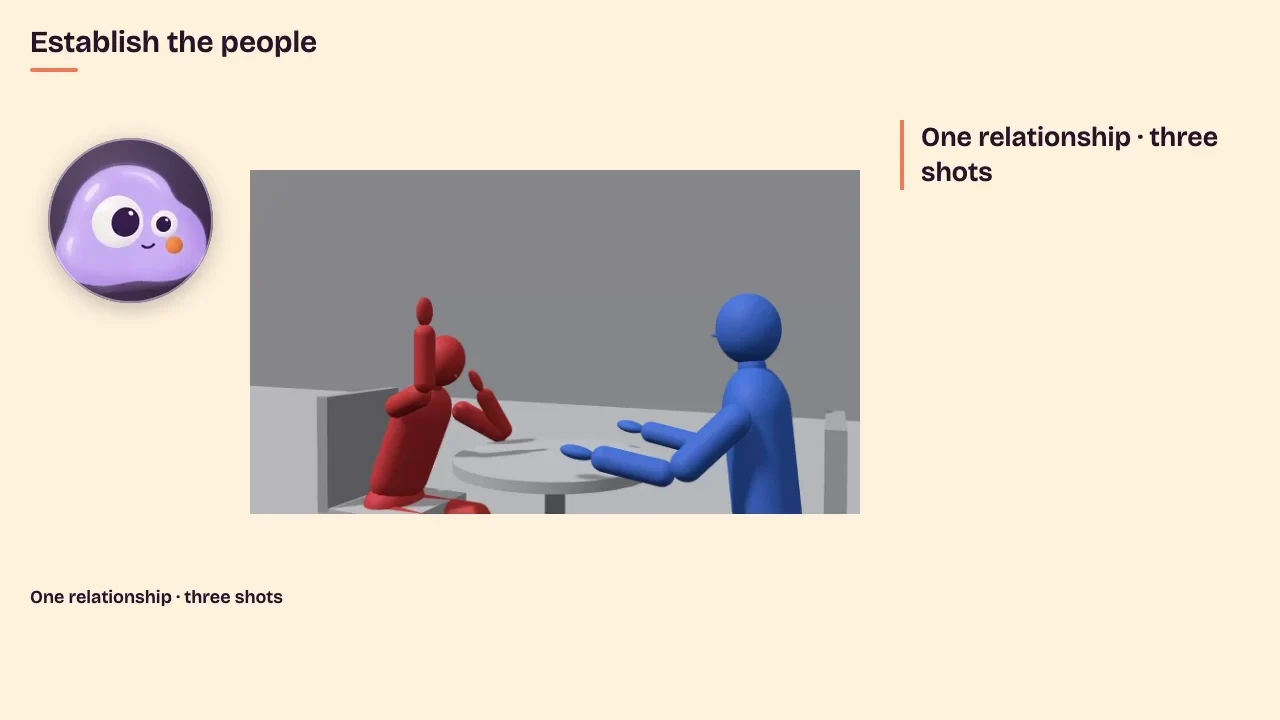
Open Previs. Under Try one, choose Two coworkers talk across a cafe table, wide shot then over-the-shoulder on each.
Pause and choose Go to start. Check that Cut by shots is already on to preview the sequence through each shot's camera. Open the Scene menu, choose Record preview video, and save the unedited file. Keep it separate from the version you will export later.
Watch all five seconds at normal speed. Red is Coworker A and blue is Coworker B. Use the opening wide shot to establish where they sit. Follow their screen positions and looking directions through the two closer shots. Also notice how low the subjects sit in those frames.
Step 2: Separate direction from framing
Imagine a line joining the two people across the table. Keeping cameras on one side can help preserve their screen relationship across cuts. This is the 180-degree guide, not an obligation: crossing can be intentional when it serves the scene.
Here, the last over-the-shoulder camera starts on the opposite side of that line. We will move it, then check the pictures. A camera can be on the expected side and still frame its subject poorly, so treat direction and composition as two separate decisions.
Step 3: Move the camera without animating it
Keep the same example open. Pause, choose Go to start, and turn Auto-key off.
In Outline, select OTS on A. In Edit, expand Position. In the first XYZ group, labelled Position, change Z from −0.55 to 0.55. Press Enter to commit. Keep X and Y unchanged.
This moves the camera across the scene's axis. It does not move either person. Auto-key is off because this exercise changes the static setup rather than recording an animated camera move.
Step 4: Aim at the subject and keep the comparison fair
Look through OTS on A. In the Aim at XYZ group under Position, set Y to 1.1, then press Enter. Keep the other aim coordinates unchanged. Select OTS on B and set its Aim at Y to 1.1 too.
Position controls where a camera sits; Aim at controls where it points. Check each intended subject against the near shoulder. These values belong to this example; they are not a universal recipe for a good over-the-shoulder shot.
Keep both over-the-shoulder lenses at 50mm and their shape at 16:9. Check the Shots row in the bottom timeline against this original shot clock:
| Shot | Starts at | Length |
|---|---|---|
| Wide 2-Shot | 0s | 2s |
| OTS Coworker B | 2s | 1.5s |
| OTS Coworker A | 3.5s | 1.5s |
Use the bottom timeline for this check; the right-hand Shots tab contains the separate paid rendering controls. Keep the people, shot order and durations unchanged. That lets you judge the camera adjustments without also changing the edit.

Step 5: Export, watch and write the brief
Check that Cut by shots is already on and play from the start. Then choose Scene, then Record preview video again and save the adjusted version separately.
Watch the complete five-second exports at normal speed. Compare whether the people unexpectedly swap sides, whether each intended subject is readable, and whether a foreground shoulder blocks important information. Check the camera height and looking direction too. Keep the adjustment because the sequence communicates your intention, rather than simply because its numbers follow a rule.
Save the rehearsal with a short production brief: who sits where, whom each shot follows, the order, durations and intended framing. You now have a concrete plan to review before deciding whether to generate a finished video.
Perguntas frequentes
Does this exercise spend credits or require a login?
The example, manual edits and local preview recording can be used signed out without generating a new video. Stay with these controls. The AI instruction box, Render shots and Bring to life are separate operations and are not part of this exercise.
Will this export always be an MP4?
The tested browser exported a silent H.264 MP4 at 1280×720: five seconds and 120 frames. The recorder uses WebCodecs H.264 when available, with a MediaRecorder fallback that can produce MP4 or WebM. Check the file your browser actually downloads. This is a visual rehearsal, not a recording of people speaking.
Must every conversation obey the axis, and will AI follow my rehearsal?
No. Crossing the axis can be deliberate. The useful question is whether the viewer can understand the relationship you intend. A rehearsal and production brief communicate that intention; they do not guarantee an AI video will reproduce the framing, direction or continuity.